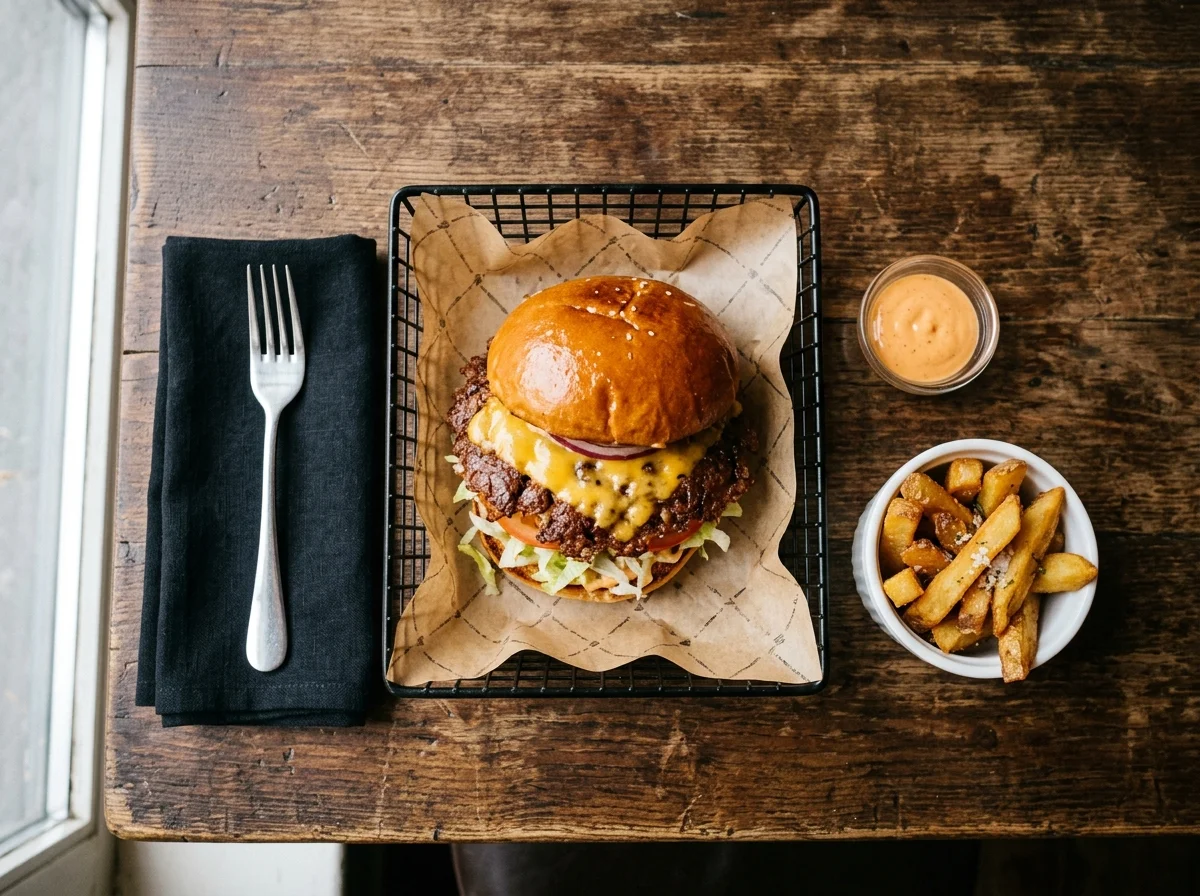
I burned my favorite cast iron skillet during my first attempt to make a homemade burger. The kitchen filled with thick grey smoke while my dry beef patty sat there completely pale. My dream of replicating a restaurant quality smash burger at home felt like a complete disaster.
If you want to stop serving dry, tasteless burgers to your family, you are in the right place. In this article, I will share the exact step by step methods to get those famous lacy edges. You will learn the correct fat ratios, the best pan temperatures, and the proper way to press. These hard-earned lessons will save you from making the annoying mistakes that ruined my dinners.
The Real Magic Behind the Famous Crispy Lace
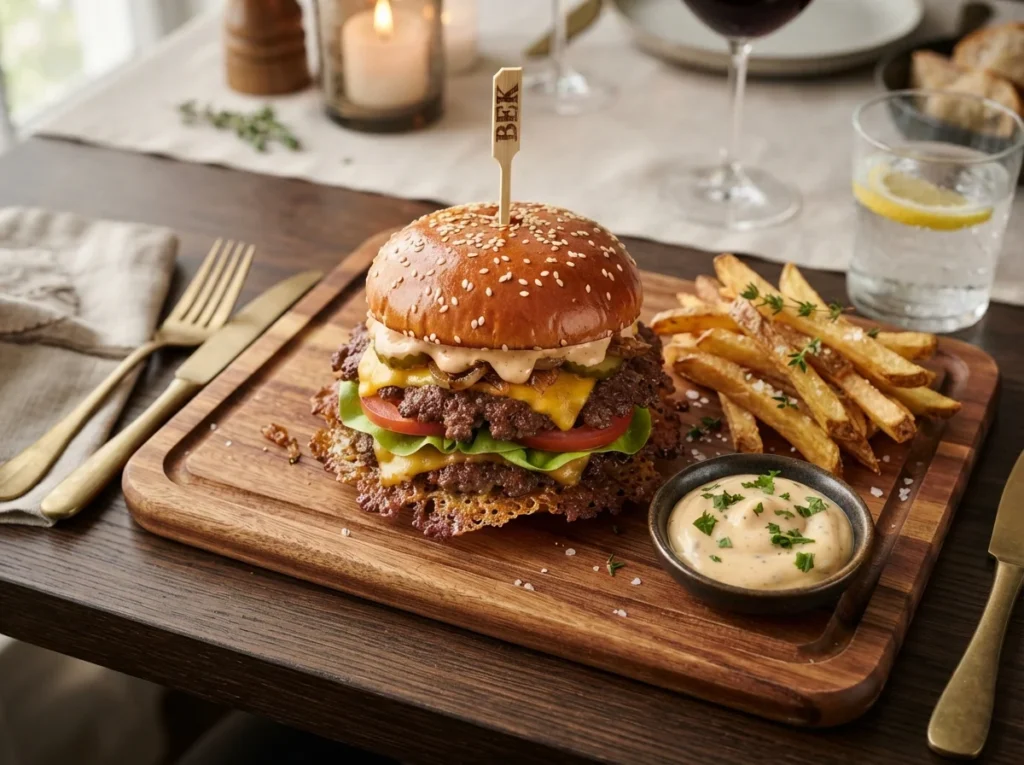
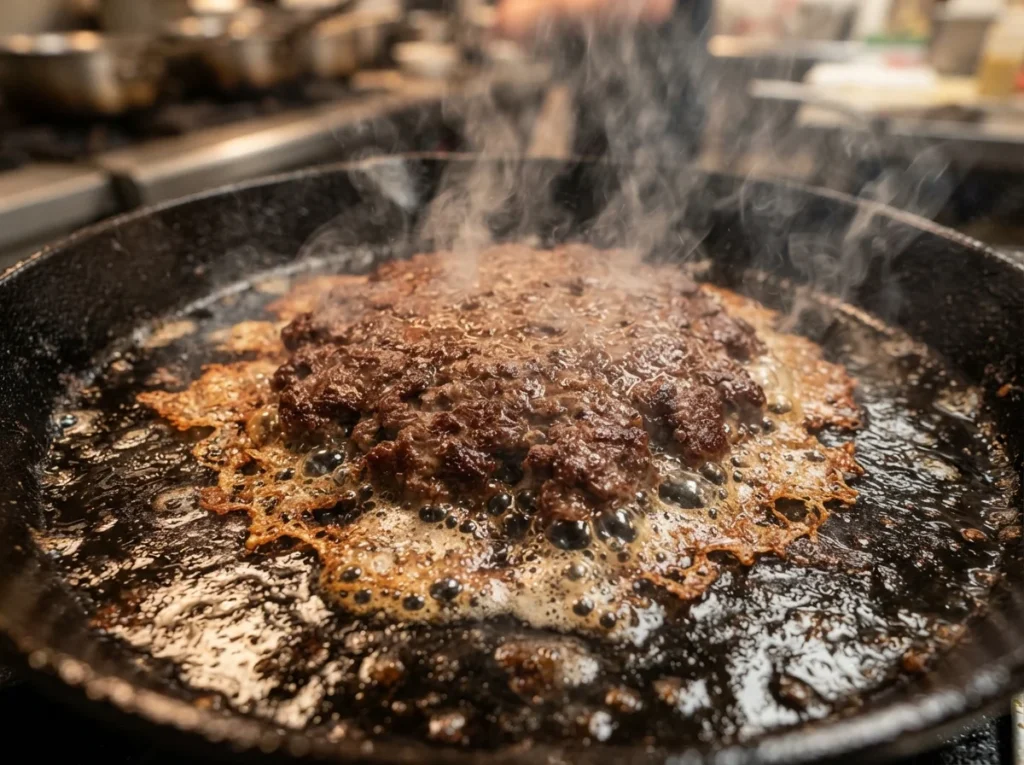
Most home cooks struggle to get those thin, crispy edges on their homemade beef patties. I used to think restaurant chefs used special secret ingredients in their meat blends. The real magic actually comes from a simple scientific reaction on the hot metal surface. You need high heat to lock in the savory juices while creating a dark crust.
I learned that moisture is the biggest enemy when you want a rich brown crust. My early patties steamed instead of searing because the meat was too wet from the fridge. Now, I always keep the raw beef balls uncovered in the fridge for an hour. This simple drying step makes a massive difference in how the meat cooks.
Secret One: Why Meat Temperature and Fat Ratio Matter
You cannot buy generic lean ground beef if you want a juicy smash burger at home. I tried using lean meat once and the patty tasted like dry cardboard after pressing. You absolutely need a higher fat percentage to keep the pressed beef moist and flavorful.
Keeping the Beef Cold
We must maintain a cold temperature for the fat inside our freshly ground meat. Warm fat melts before it hits the skillet, which ruins the texture of your patty. I keep the shaped meat balls in the freezer for ten minutes before cooking.
Shaping the Meat Balls Loose
Avoid overworking the ground beef when shaping it into loose round balls on your board. You must pack the beef balls gently so the fat layers do not melt early. This light touch ensures your homemade smash burger patty remains tender and juicy throughout the cooking process.
The Ideal Fat Ratio
Always look for eighty-twenty ground chuck when buying your beef from the local butcher. This exact fat ratio provides enough oil to fry the edges without making the bun greasy. The extra fat is what gives the beef its incredibly rich and savory flavor.
Timing Your Meat Prep
Only take the cold beef out of the freezer at the exact cooking moment. This temperature difference gives you more time to press the meat down flat on iron. The cold fat then melts quickly, frying the edges to a perfect crisp.
Secret Two: The Art of the Heavy Smash Technique
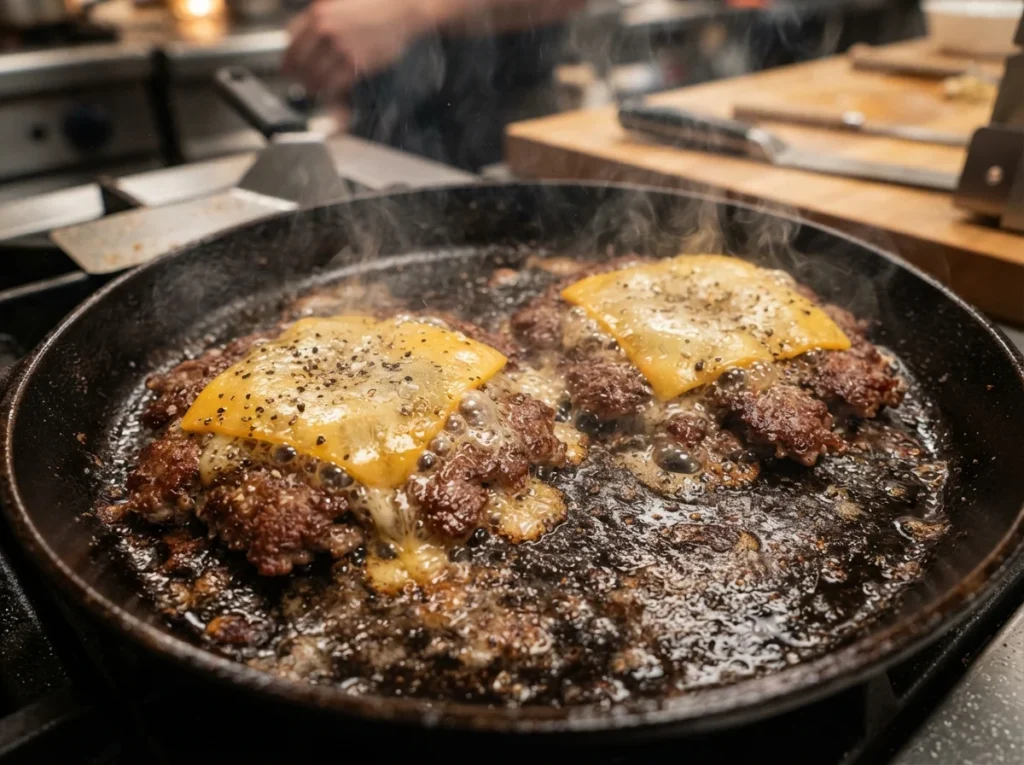
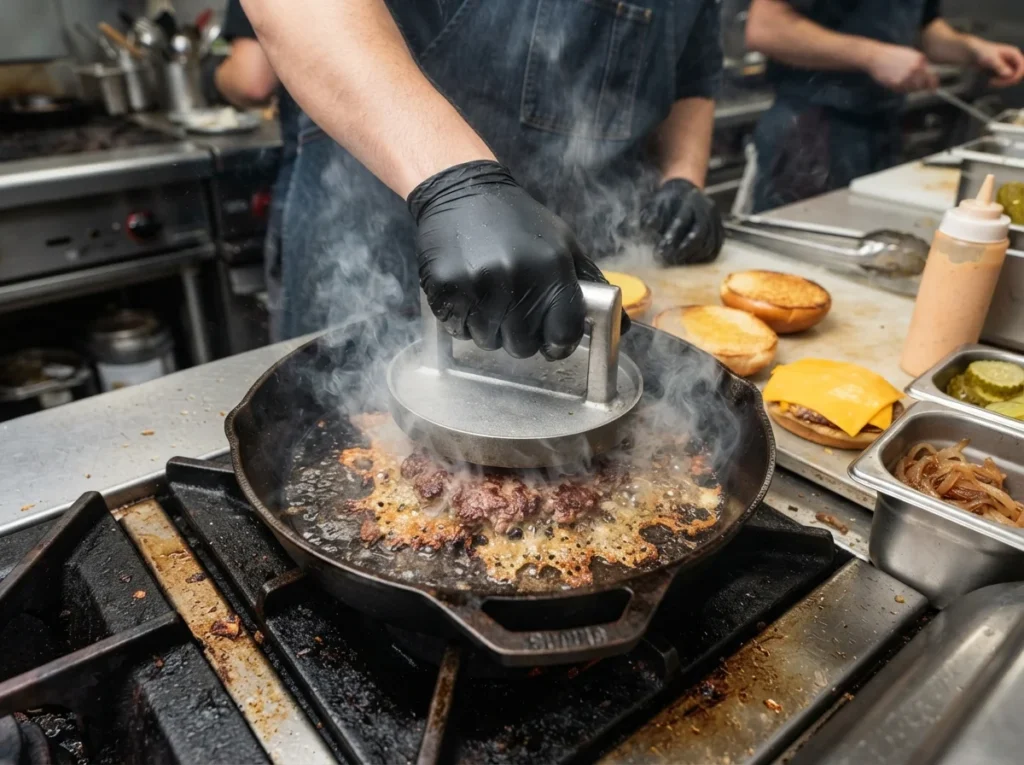
You must press the beef down with immense force during the first ten seconds. I made the mistake of pressing the meat after it had already started cooking. Pressing late pushes the precious juices out of your smash burger, leaving a dry patty.
- Use a heavy metal spatula or a flat iron burger press.
- Place a small square of parchment paper over the cold beef ball.
- Press straight down with two hands to make the patty incredibly thin.
- Hold the firm pressure for ten seconds to seal the crust surface.
The parchment paper prevents the fresh meat from sticking to your cold metal tool. I hold the press down firmly while moving it slightly in a circular motion. This spread technique makes the edges thin, creating the famous lace we all love. You only get one chance to smash the beef during the cooking process.
Secret Three: Choosing the Right Cooking Surface
You cannot make a proper smash burger in a thin non-stick frying pan. I tried using my regular breakfast pan and the surface temperature dropped instantly. A lightweight pan cannot hold enough heat to sear the meat properly before drying.
Why Cast Iron Rules
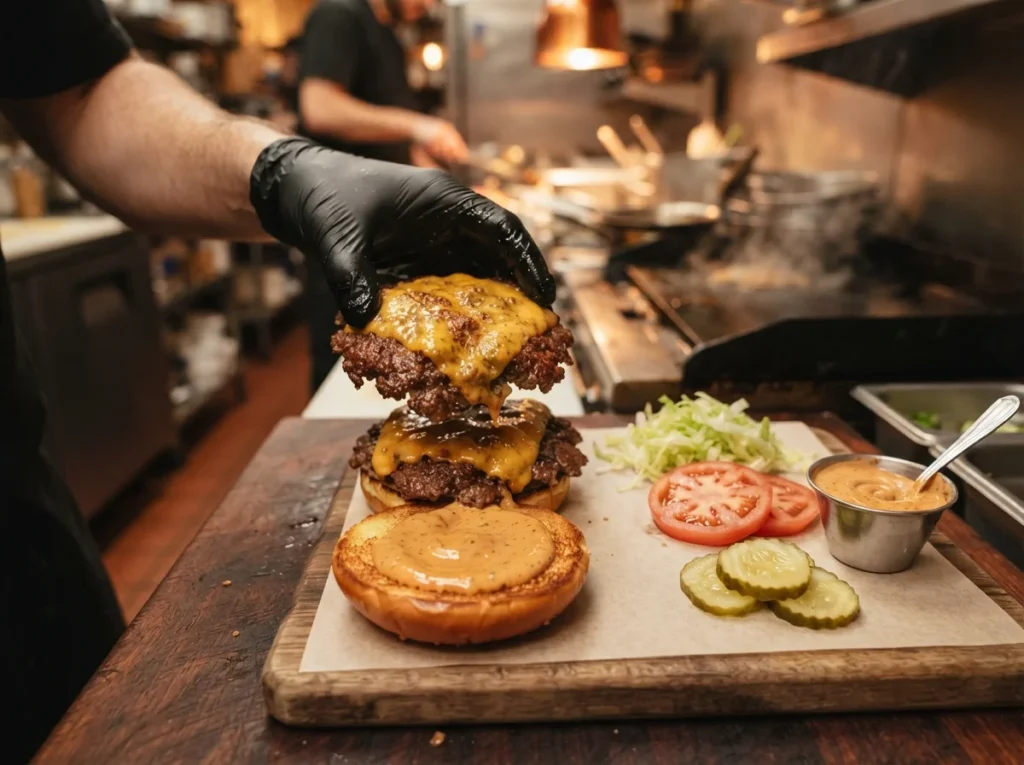
Heavy cast iron pans hold heat beautifully even when cold beef hits the surface. I turn the stove flame to high and let the pan heat empty for minutes. This intense dry heat is what creates that beautiful dark brown crust instantly.
Stainless Steel Griddle Option
A flat stainless steel griddle works perfectly if you cook large outdoor meals for friends. Griddles provide a massive cooking space so you can prepare multiple patties at once. This flat surface allows you to slide your spatula under your smash burger without awkward angles.
Avoiding Coated Cookware
Avoid ceramic coated pans because they do not handle extremely high temperatures very well. The non-stick coating can degrade quickly under the intense heat needed for searing meat. You will end up with a ruined pan and a pale, soggy patty.
Flat Bottom Pan Importance
Ensure your cooking tool has a completely flat bottom with no ridges or bumps. Any uneven surface will prevent the pressed beef from making full contact with the pan. Full metal contact is absolutely necessary to get a uniform, deep brown sear.
The Critical Timing of the Single Flip
Knowing exactly when to flip your beef patty is a valuable kitchen skill. I used to flip the meat too early because I was nervous about burning. This impatience ruined the delicate crust because it stuck to the bottom pan surface.
Watching the Dry Edges
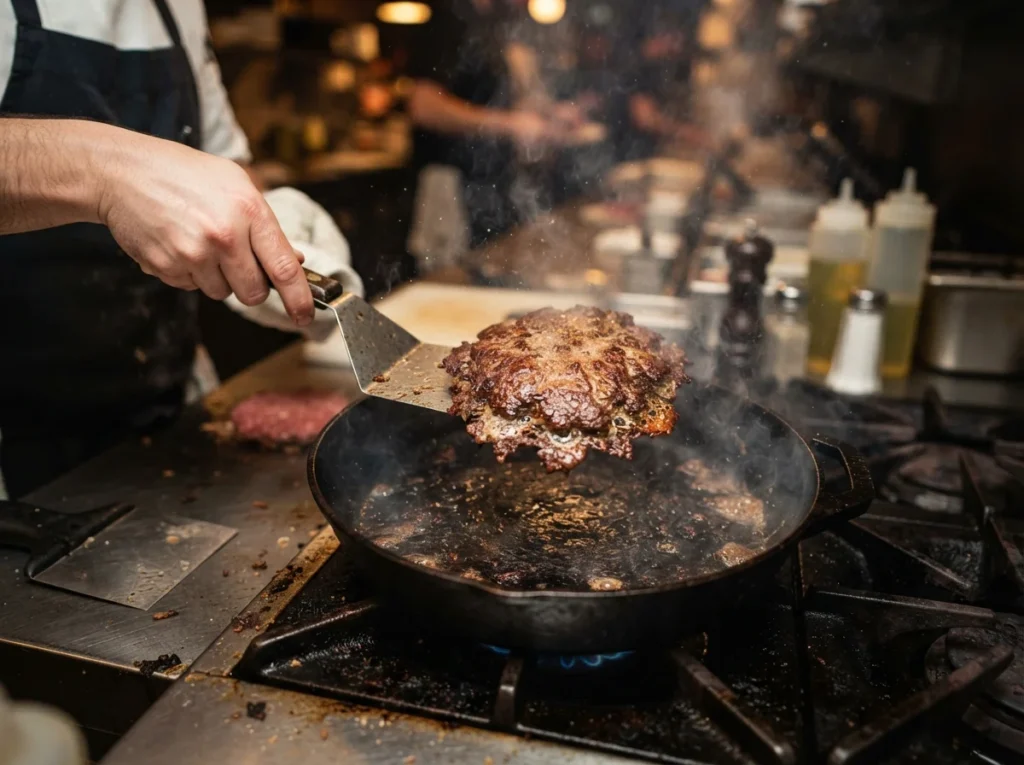
The outer edges of the beef turn dark brown and look dry when ready. This color change indicates that the sugars in the meat have caramelized completely. Do not touch the patty until you see this distinct ring around the edges.
Spotting the Meat Juices
Small bubbles of warm meat juice start appearing on the raw top side of beef. This rising moisture tells you that the heat has travelled completely through the patty. This is the exact moment you should prepare your spatula for the flip.
Scrape With Real Power
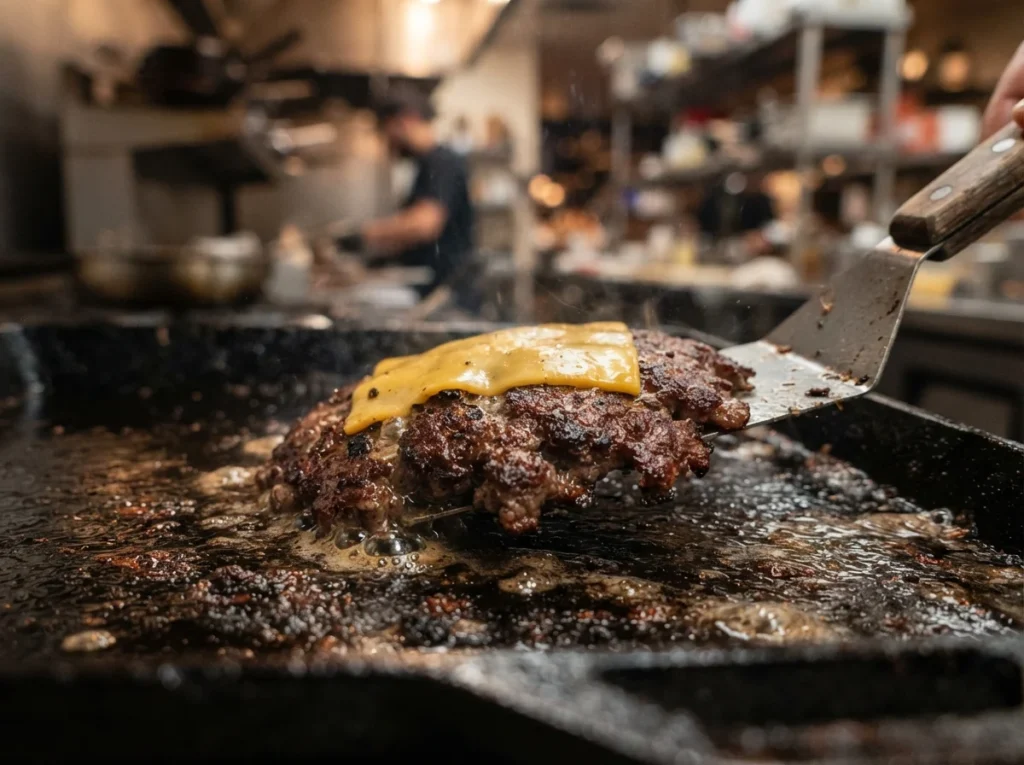
You must use a sturdy, sharp-edged metal spatula to scrape the smash burger patty from the pan. Get completely under the caramelized crust so you do not leave any flavor behind. A quick, aggressive scrape ensures the entire crispy layer stays attached to the meat.
The Short Final Sear
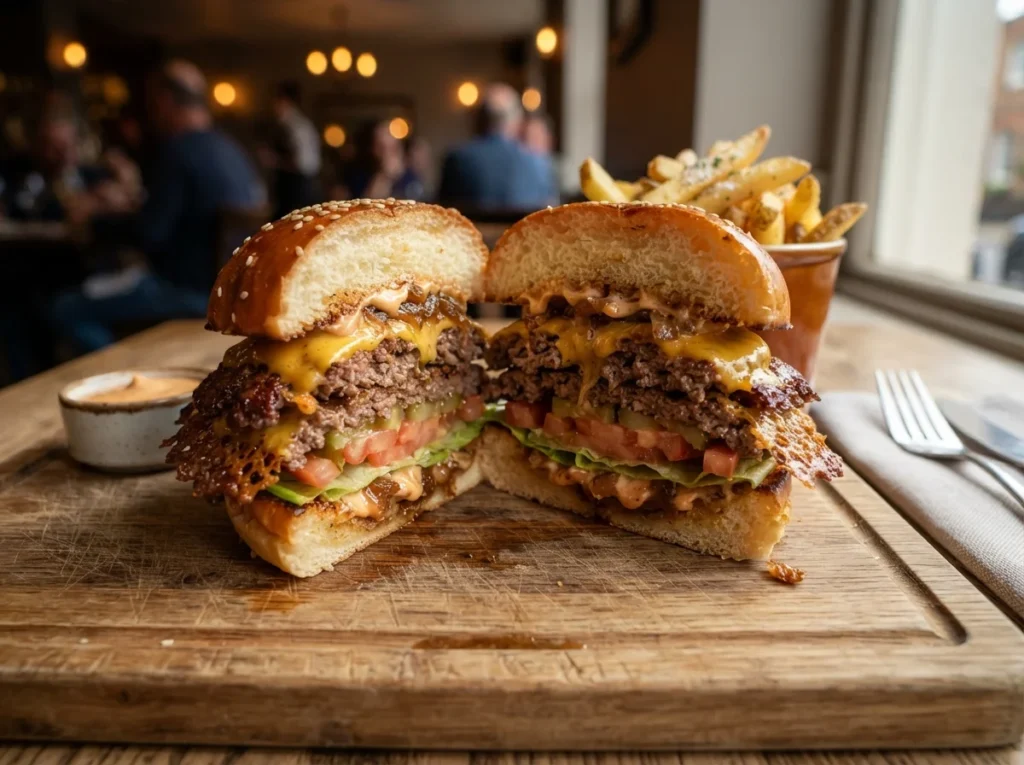
Flip the patty gently and cook the second side for just thirty seconds. The second side does not need a long time because the beef is thin. This short final cook melts the cheese perfectly without drying out the interior juices.
Simple Seasoning Secrets for Maximum Flavor
I used to mix garlic powder and onions directly into my ground beef. This extra moisture ruined the texture and made the meat taste like a meatloaf. A classic smash burger only needs basic seasoning applied at the correct time.
I only season the top raw side right after the big smash happens. The salt dissolves into the warm juices as the bottom side sears beautifully. Keeping the seasoning simple allows the natural, rich beef flavor to stand out. You do not need fancy spices when your cooking technique is totally correct.
Bun Prep and the Classic Sauce Formula
A cold, dry bun will instantly ruin the texture of your hot crispy beef. I always toast my buns in melted butter before I start cooking meat. This step creates a barrier that keeps your smash burger bun from getting soggy later.
Choosing the Right Bread
Use soft brioche buns because they hold the greasy patty beautifully without falling apart. The sweet flavor of brioche balances the salty, savory taste of the crispy beef. Avoid hard crusty rolls because they make the sandwich difficult to bite.
Applying the Butter Layer
Spread a thin, even layer of softened butter on both of the bun faces. Do not use cold butter because it will tear the soft bread apart. The butter layer creates a beautiful golden crust when toasted on the pan.
The Toasting Process Details
Toast the buttered buns on a warm pan until they turn a beautiful golden color. Watch them closely because the sweet bread can burn in just a few seconds. Warm, toasted bread keeps your final dinner tasting fresh and professional.
Mixing the Burger Sauce
Mix mayonnaise with yellow mustard and sweet pickle relish for a simple, classic sauce. This acidic sauce cuts through the rich fat of the crispy smash burger perfectly. Spread a generous tablespoon on both toasted bun halves before assembling the meal.
My Personal Kitchen Checklist for Success
I spent a year perfecting my homemade smash burger process in my kitchen. I created a simple mental checklist that keeps my cooking organized and clean. Having your ingredients ready before turning on the heat saves you from panic.
My favorite setup involves placing my cheese slices right next to the stove. I toast my buns first so they are ready to accept hot meat. I turn on my kitchen exhaust fan because the high heat creates smoke. These small preparation steps make the actual cooking process stress-free and highly enjoyable.
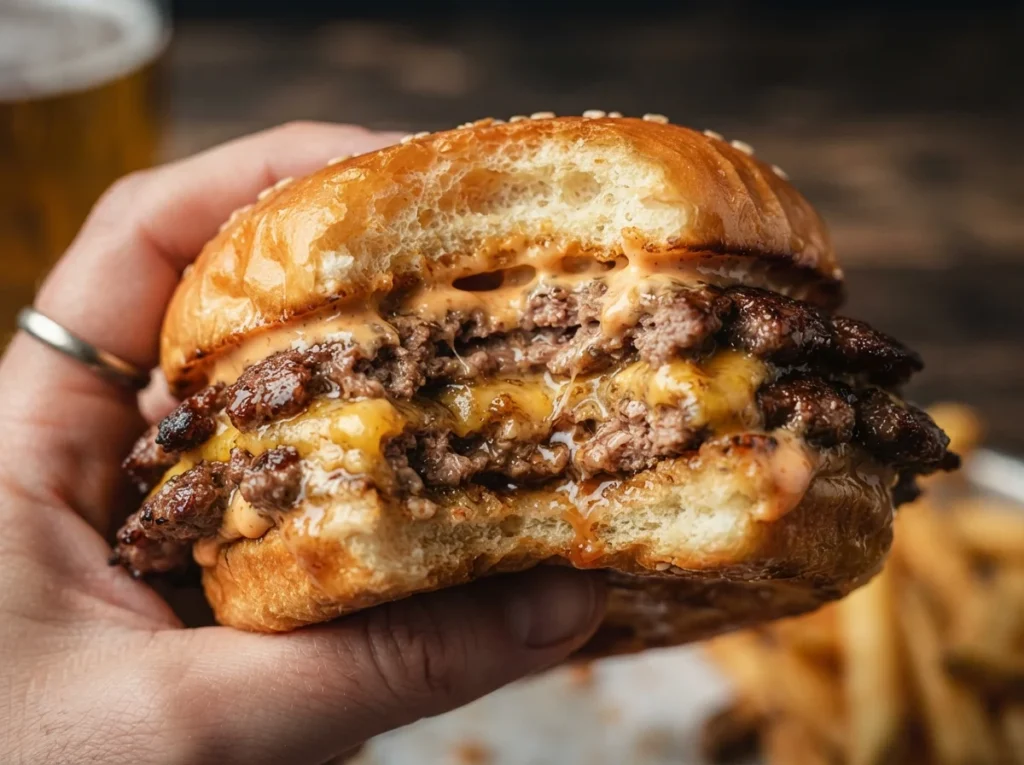
You do not need an expensive restaurant kitchen to make a fantastic meal. Focus on your pan temperature, use high-fat meat, and smash with real power. Your family will love the incredible crispy texture of your new homemade dinners.
Conclusion
Perfecting a crispy smash burger at home was a journey of simple trial and error in my own kitchen. I realized that achieving those coveted lacy, caramelized edges does not require professional restaurant equipment. You only need a piping hot cast iron pan, a high-fat beef blend, and the confidence to press down hard.
This simple cooking process completely changed how my family enjoys weekend dinners. Once you master the timing of the flip, you will never want to order fast-food takeout again.
Are you ready to cook the most satisfying smash burger crust in your kitchen tonight? Dust off your heavy cast iron skillet, fire up the stove burner, and try these secrets yourself. Let me know in the comments below how beautiful your first caramelized patty turned out!