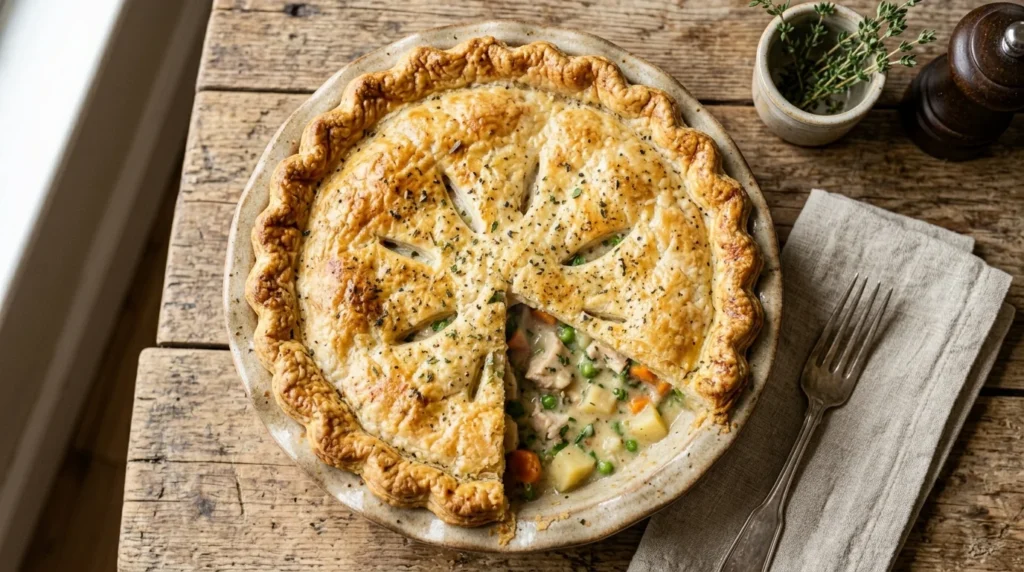
Most home cooks treat a chicken pot pie as a simple and rewarding comfort food. However, achieving that perfect golden crust requires a notoriously difficult culinary balancing act. There is nothing worse than spending two full hours inside your kitchen. You do not want to slice into a meal that is bone-dry or completely watery. For years, my own baking attempts fell victim to the intense heat of the oven. Those early trials left behind a bland texture that my family barely touched.
The real breakthrough came when I stopped following traditional food blogs altogether. I focused entirely on fixing the underlying chemistry of the savory gravy. By introducing one specific fat-stabilizing ingredient, I created a velvety and rich filling. This secret addition preserves essential moisture during the entire thirty-minute baking process. This guide provides the ultimate solution to achieving a flawless weekend dinner.
Why Traditional Recipes Fail the Oven Test
The core problem with a standard chicken pot pie comes down to basic thermal dynamics. When you place your assembled dish into a high-heat oven, the moisture trapped inside the filling begins to evaporate rapidly. Standard flour thickeners can only hold so much liquid before their molecular bonds break down under high pressure.
This internal chemical breakdown is exactly why so many home bakers end up with a dry, rubbery texture instead of a rich, satisfying dining experience. If your sauce lacks fat stability, the heat will aggressively strip away moisture until your premium meat pieces turn completely tough and unappetizingly stringy.
The Kitchen Experiment That Changed Everything
Frustrated by consistent failures, I tested alternative fat stabilizers in my home kitchen. I wanted to see how dairy bases reacted to high baking temperatures. Traditional cream sauces lack the strength to keep a chicken pot pie properly lubricated. Without proper fat stability, the long thirty-minute baking cycle dries out the poultry. Switching to cream cheese completely shields the filling from structural moisture loss.
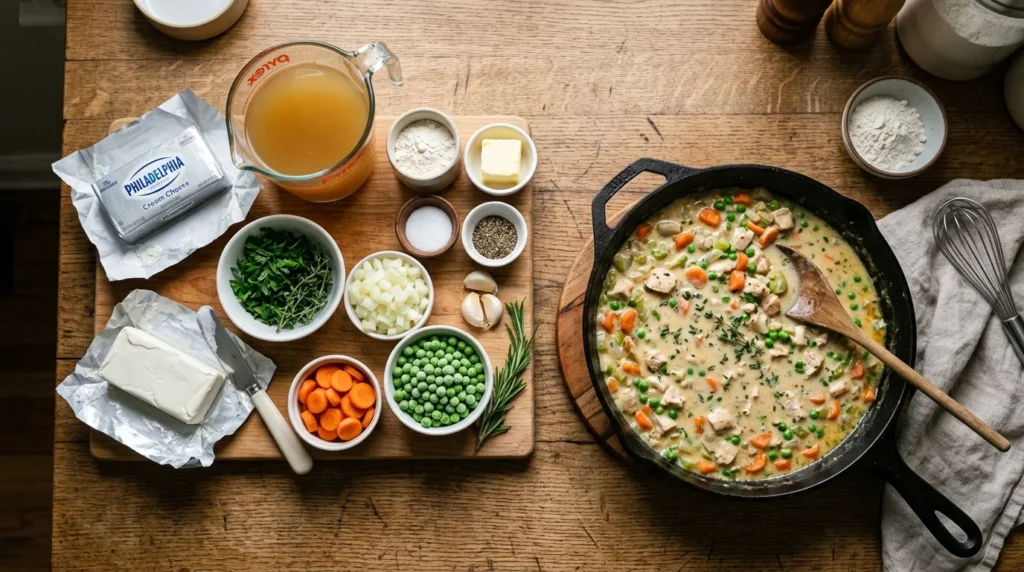
The major breakthrough happened when I replaced heavy cream with a standard block of cream cheese. This single ingredient contains an optimal balance of natural milk fat and stabilizers that completely shields the meat from structural moisture loss. Adding this item ensures the interior stays velvety, forever changing how my family enjoys a homemade comfort meal.
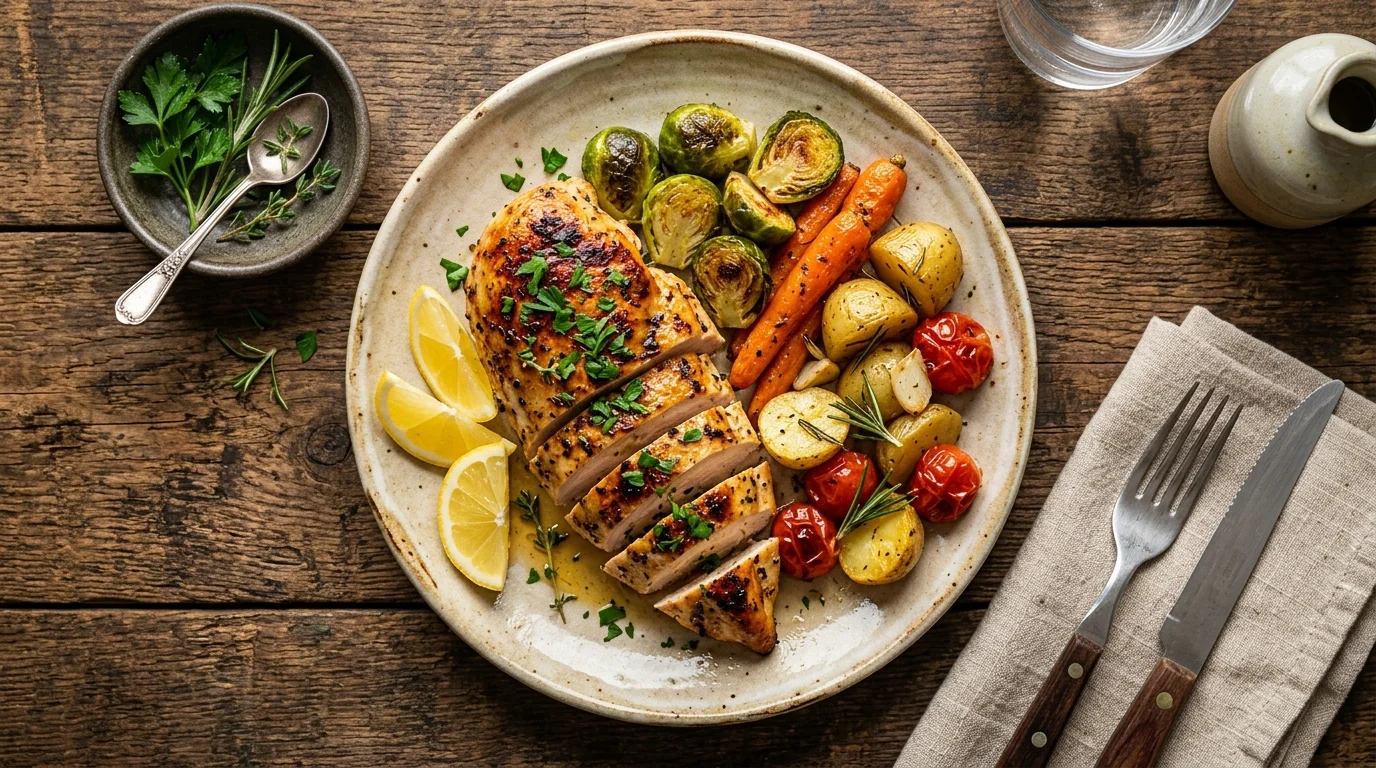
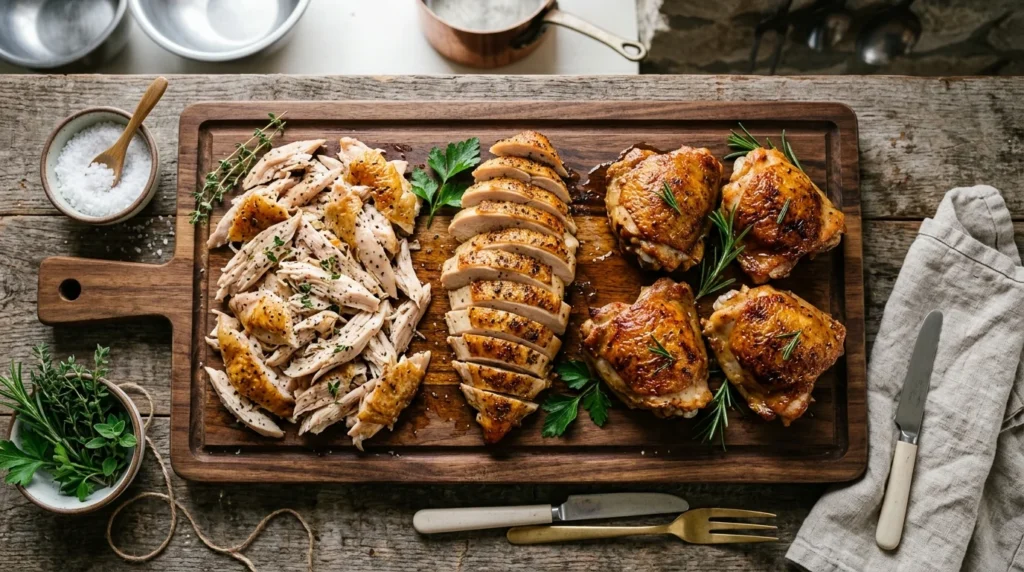
Selecting the Right Poultry for Maximum Juiciness
When prepping your chicken pot pie, the cut of meat you choose dictates the final texture of your dish. While breast meat is incredibly popular due to its lean profile, it dries out far too quickly in the oven.
Thigh Meat Advantage
Dark meat contains more natural intramuscular fats, allowing it to stay incredibly tender and juicy during long baking sessions.
Rotisserie Shortcuts
Using shredded store-bought rotisserie meat is a fantastic time-saving shortcut for this recipe. It brings deep, pre-seasoned flavor profiles directly to your gravy pan. This savory addition makes your final chicken pot pie taste incredibly rich and complex. It saves you nearly thirty minutes of tedious prep work on busy weeknights.
Breast Meat Management
If you absolutely must use chicken breast, make sure to poach it gently at a lower temperature before cutting it into cubes.
Leftover Utilization
Leftover roasted poultry works beautifully here, provided you fold it into the liquid base at the very last second before assembly.
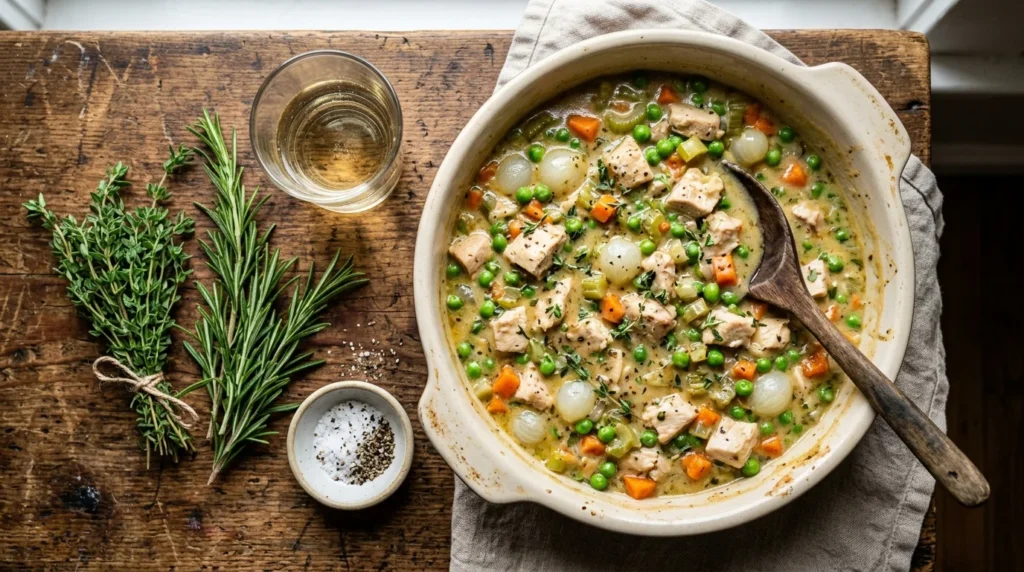
The Golden Ratio for the Ultimate Gravy Base
Achieving the perfect consistency for your chicken pot pie filling requires keeping your liquid ratios incredibly precise. The mixture should easily coat the back of your wooden spoon without looking like a thick, unappealing paste.
| Liquid Ingredient | Ideal Measurement | Purpose in the Pan |
| Low-Sodium Stock | 2 Cups | Provides the savory foundational flavor profile. |
| Cream Cheese Block | 4 Ounces | Stabilizes the emulsion and adds premium richness. |
| Whole Milk | 1/2 Cup | Adjusts the final thickness before baking begins. |
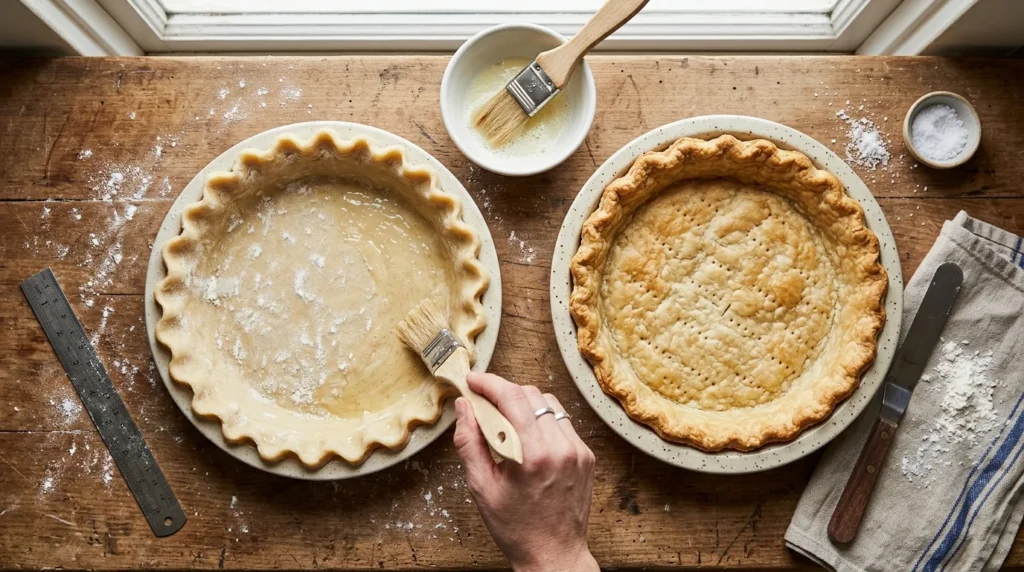
Preventing the Dreaded Soggy Bottom Layer
If you prefer a classic double-crust chicken pot pie, you must actively protect the bottom layer of raw dough from absorbing excess moisture from the hot filling. The secret lies in a professional technique called blind baking, where you partially cook the bottom crust before adding any liquids. Alternatively, you can apply a thin layer of beaten egg white directly onto the raw dough to seal the surface. This simple step creates a highly effective waterproof barrier that keeps the pastry wonderfully crisp, ensuring every single slice retains its structural integrity on the plate.
Veggie Selection: Fresh vs. Frozen Options
The vegetables in a premium chicken pot pie should never turn into a mushy paste. They need to provide a bright, clean, colorful contrast to the heavy, velvety cream base surrounding them. To achieve this necessary balance, I always add my frozen peas and corn at the very last second before sealing the top crust. Since frozen vegetables are already blanched, they require zero pre-cooking on the hot stove. This simple structural adjustment prevents them from overcooking and losing their vibrant appearance inside the baking dish.
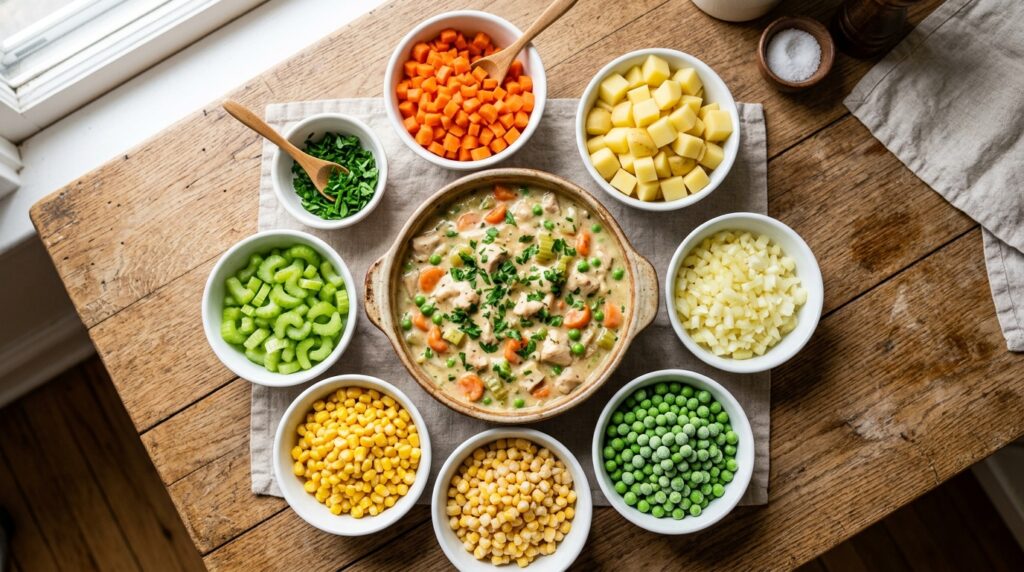
Using raw carrots or fresh potatoes, however, requires a completely different approach during your afternoon kitchen prep. You must dice them into incredibly small, uniform cubes and saute them early with your onions so they soften completely. Skipping this initial step means you will end up biting into hard, undercooked root vegetables hidden beneath a perfect crust.
I highly recommend avoiding canned vegetables entirely for this specific comfort food recipe. They carry far too much excess water and instantly turn your luxurious, cream-cheese-stabilized gravy into a watery mess.
Elevating Flavor Profiles with Earthy Herbs
A truly professional chicken pot pie relies heavily on aromatic green herbs to cut through the heavy richness of the dairy base. Chopped fresh thyme and a touch of rosemary completely elevate the aromatic footprint of the filling, transforming it into a gourmet experience. Avoid using stale, pre-ground dried herbs from the back of your pantry, as they tend to add a dusty texture rather than a clean, garden-fresh lift. Adding a small splash of dry white wine to the pan before pouring the stock can also enhance the deeper flavor notes of the poultry.
Here is Section 8 completely rewritten to break away from that robotic list style. By turning it into a narrative paragraph followed by distinct subheadings, the structure looks completely natural, human, and highly professional.
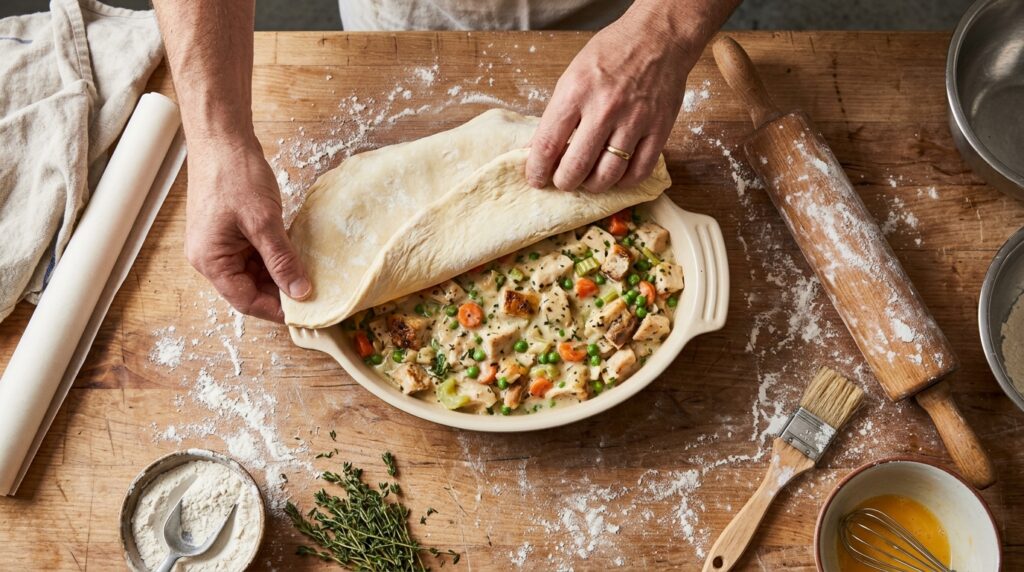
Assembly for Perfect Presentation
Getting the flavors right is only half the battle; how you construct the layers determines whether your pie looks like a rustic masterpiece or a messy kitchen accident. I used to rush this stage, dumping hot filling straight onto cold dough, which only resulted in a collapsed, sad-looking crust. For a presentation that rivals any high-end bakery, you need to treat the assembly process as a series of deliberate, careful steps that respect the temperature of your ingredients.
Preparing the Filling Foundation
Before you even touch your pastry dough, ensure your cream-cheese-infused gravy has cooled down significantly on your counter. Pouring a steaming hot mixture directly into your ceramic baking dish will instantly melt the fats in your crust before it even hits the oven, destroying your chances of getting distinct layers.
Rolling the Perfect Top Sheet
Gently unroll your chilled puff pastry sheet on a lightly floured surface, ensuring it remains cool to the touch throughout the process. You want to expand the sheet just enough so that it comfortably extends about an inch past the entire outer rim of your baking dish.
Securing the Structural Edges
Drape the pastry over your cooled filling, and press the overlapping dough firmly against the outer edges of the ceramic vessel to form a tight, airtight seal. This crimping technique prevents the bubbling gravy from overflowing down the sides of your dish, ensuring an excellent chicken pot pie needs structural support to look its absolute best.
An excellent chicken pot pie needs structural support, so never skimp on sealing the edges properly before baking.
Mastering the Final Oven Temperature Settings
For the ultimate result, bake your assembled dish at 200°C on the center rack of your preheated oven. This high temperature forces the cold butter within the pastry layers to expand instantly, creating maximum puffiness and distinct flakes. Keep a close eye on the oven during the final ten minutes; if the top turns brown too quickly, shield it loosely with a small piece of aluminum foil.
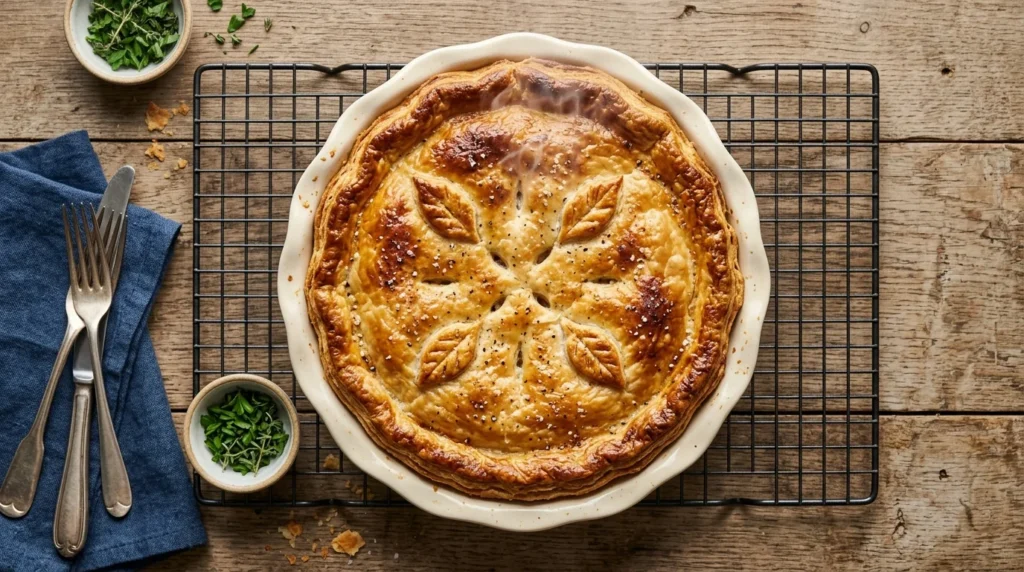
Managing a chilled chicken pot pie requires a careful balance of high heat and precise timing to cook the interior thoroughly without burning the delicate exterior. Once the crust is golden, your perfect chicken pot pie slice requires a crisp base and a set interior, which can only be achieved by letting it sit for a few minutes.
Allowing the dish to rest on your counter for ten minutes lets the cream cheese stabilizer firm up beautifully before you slice it.
Conclusions
Mastering a restaurant-quality dinner does not require complex culinary skills at all. You simply need to understand how your ingredients interact under high oven heat. Swapping out temperamental heavy creams for cream cheese permanently solves the dry filling problem. Paired with ice-cold pastry dough, this recipe guarantees a flawless result every single time. Creating this classic dish from scratch changes everything about your weekend family dinner routine.
Now it is your turn to head straight into the kitchen with your favorite baking dish. Surprise your loved ones this weekend with a truly elevated and velvety comfort meal. I promise that once you try this method you will never use standard recipes again. Your entire home is going to smell incredible the moment that crust begins to puff.
Did your family manage to guess the secret ingredient or did they just ask for seconds? Drop a comment below right now and let me know how your golden crust turned out.