I remember burning my very first batch of sweet pastries in my small home kitchen years ago. That messy mistake taught me that mastering baking techniques takes real practice and the right guidance. Today, I am sharing my personal kitchen secrets to help you bake perfect apple desserts every single time. This complete guide provides practical tips that will successfully elevate your baking skills from basic to professional.
Selecting the Best Fruit for Baking
Choosing the correct ingredient is always the first step toward successful baking in your home kitchen. My personal journey taught me that not all green or red varieties perform well under high heat. You need a firm option that holds its shape instead of turning into soft mush. I always walk past the soft varieties when planning to bake delicious apple desserts for my guests. Granny Smith remains my absolute favorite option because the sharp tartness balances the sweet sugar beautifully.
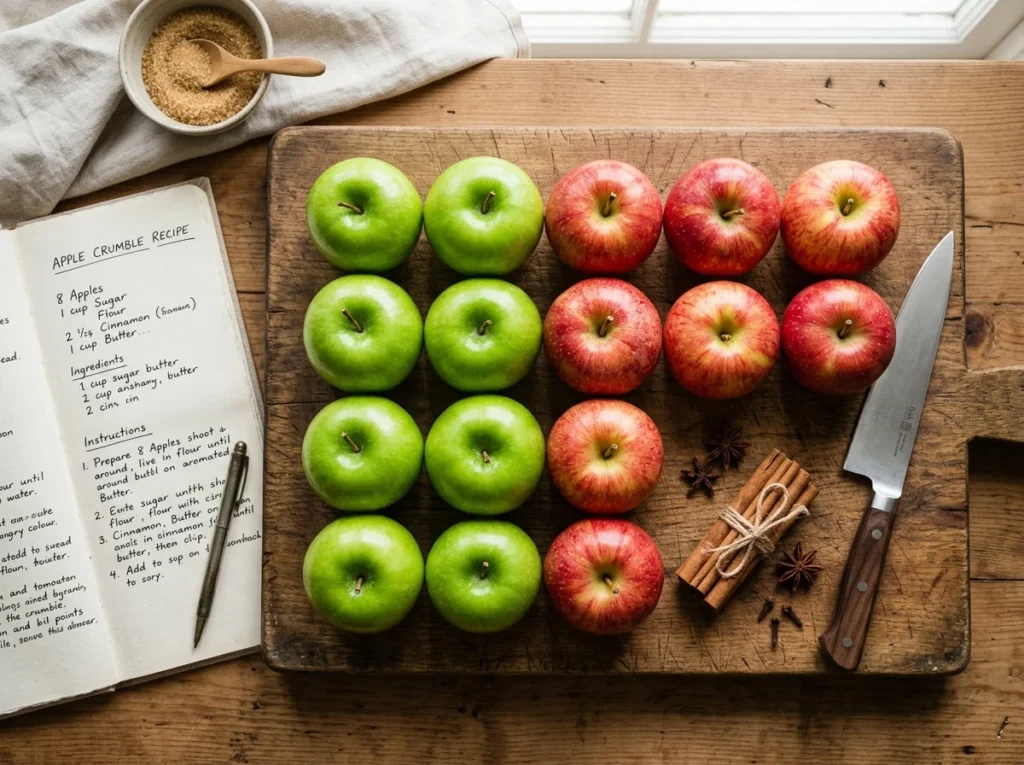
The cell structure of the fruit determines how well it handles hot oven temperatures over time. Soft varieties like Red Delicious will quickly collapse into a wet puree under intense heat. You want varieties that retain a slight bite to give your dish a wonderful texture. Mixing different varieties together will also create a much deeper, more complex sweet flavor profile. This simple fruit combination always surprises my guests and makes them ask for my secret ingredient.
My Grandmother’s Classic Baked Recipe
My grandmother used to make the most wonderful warm treats during the chilly autumn months. She taught me that simple rustic methods often yield the absolute best results in the kitchen. This traditional style is still my favorite way to prepare comforting apple desserts on Sunday afternoons. You only need a few basic pantry staples to create this classic family masterpiece. First, slice your fresh fruit thinly and toss them gently with dark brown sugar.
- Use real butter to coat your baking dish to prevent the fruit from sticking.
- Slice your fruit to equal thickness so everything bakes at the exact same rate.
- Let the hot dish rest for ten minutes before serving to thicken the sweet syrup.
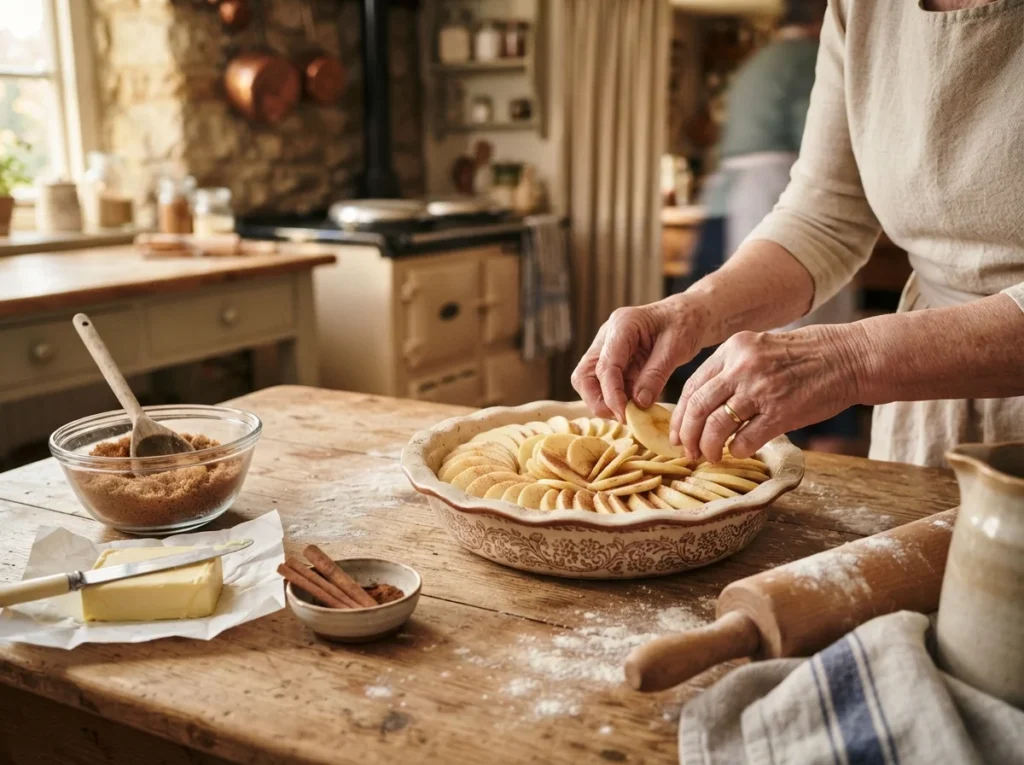
Next, layer them neatly inside a buttered baking dish before starting your home oven. The sweet juices will naturally bubble up and form a gorgeous, thick caramel syrup.
Quick Stovetop Sweet Treats
Sometimes you want a warm treat but you do not have time to heat the oven. Stovetop cooking is a fantastic shortcut that saves precious time on busy weeknights. I regularly use this fast method when my family craves homemade apple desserts after dinner. This quick approach delivers amazing caramelized flavors in just a fraction of the usual baking time.
You must watch your stove closely to prevent the natural fruit sugars from burning. Keep the heat on medium-low and stir the mixture gently using a heatproof silicone spatula. This steady movement ensures every single slice gets coated evenly in the rich, buttery syrup. The beautiful aroma will instantly fill your entire home and make everyone feel hungry.
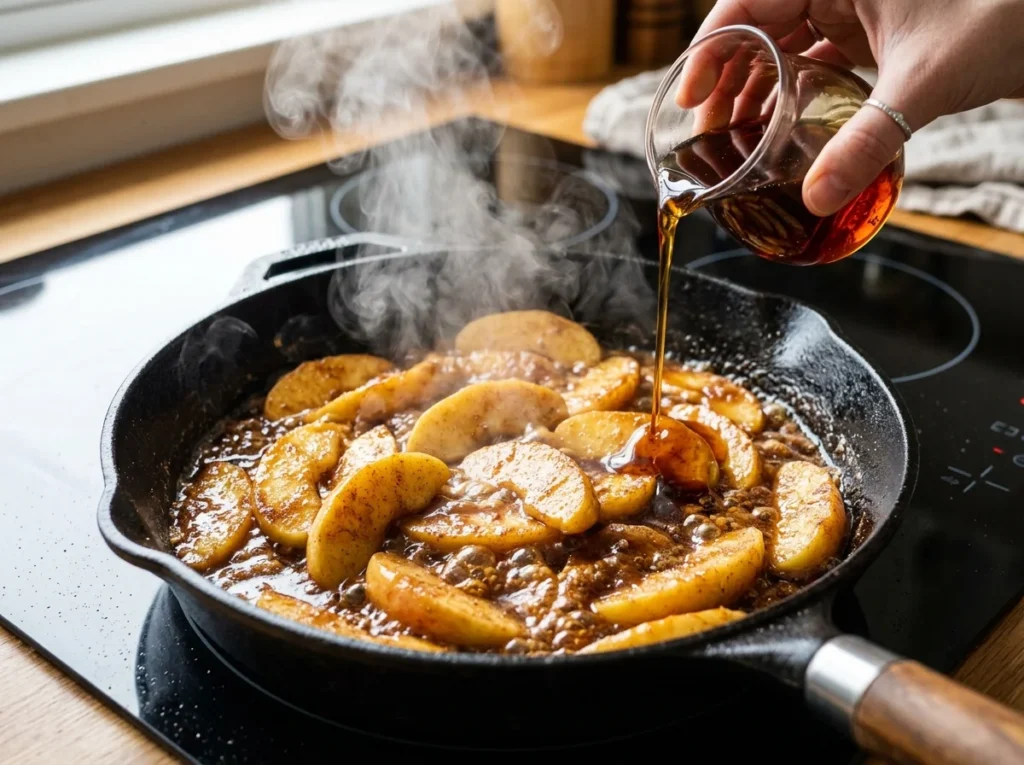
Melt two tablespoons of unsalted butter in a medium frying pan before starting. Toss in your sliced fruit along with a generous pinch of ground cinnamon today. Pour a splash of maple syrup to create a rich, glossy caramel glaze over these quick apple desserts. Simmer gently on low heat for about ten minutes until everything is beautifully soft.
The Secret To Perfect Crispy Toppings
A great bake always requires a wonderful contrast between soft fruit and a crunchy texture. Many people struggle with soggy toppings, which completely ruins the overall eating experience. I discovered a simple kitchen trick that guarantees a perfect golden brown crunch every single time. You must use cold butter and rub it into your flour using your bare hands. This manual process creates lovely small clumps that make your baked apple desserts taste amazing.
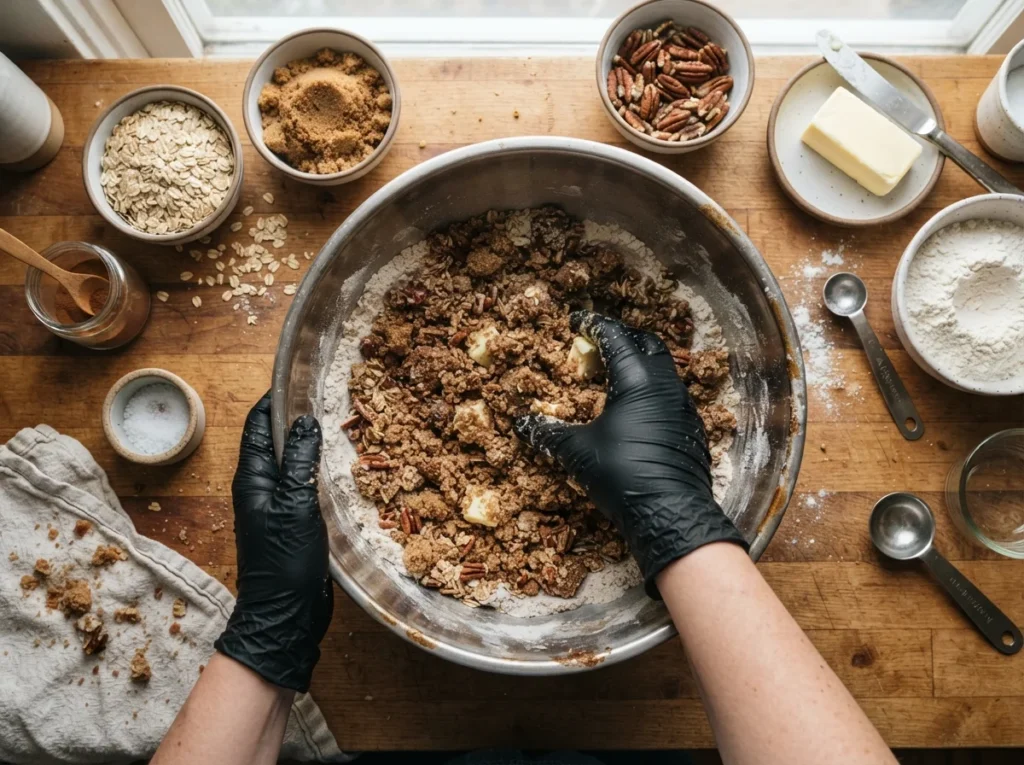
Rolled Oats for Texture
Using whole rolled oats brings a wonderful, rustic texture to your sweet crumble toppings today.
Sweet Brown Sugar Choices
Dark brown sugar creates a rich molasses flavor while helping the mixture crisp up beautifully.
Chopped Pecans and Nuts
Adding chopped pecans or walnuts introduces a lovely earthy crunch that everyone in the family enjoys.
The Cold Butter Technique
Keeping your dairy butter cold prevents the topping from melting too quickly in the hot oven.
Creating the Perfect Cinnamon Spice Blend
The right combination of spices can easily turn ordinary baking into something truly spectacular. I used to buy pre-made spice mixes from the local grocery store near my house. However, mixing your own spices at home gives you complete control over the final flavor. I discovered that freshly grated nutmeg adds an incredible warmth to all homemade apple desserts. You should definitely try making your own custom spice blend during your next baking session.
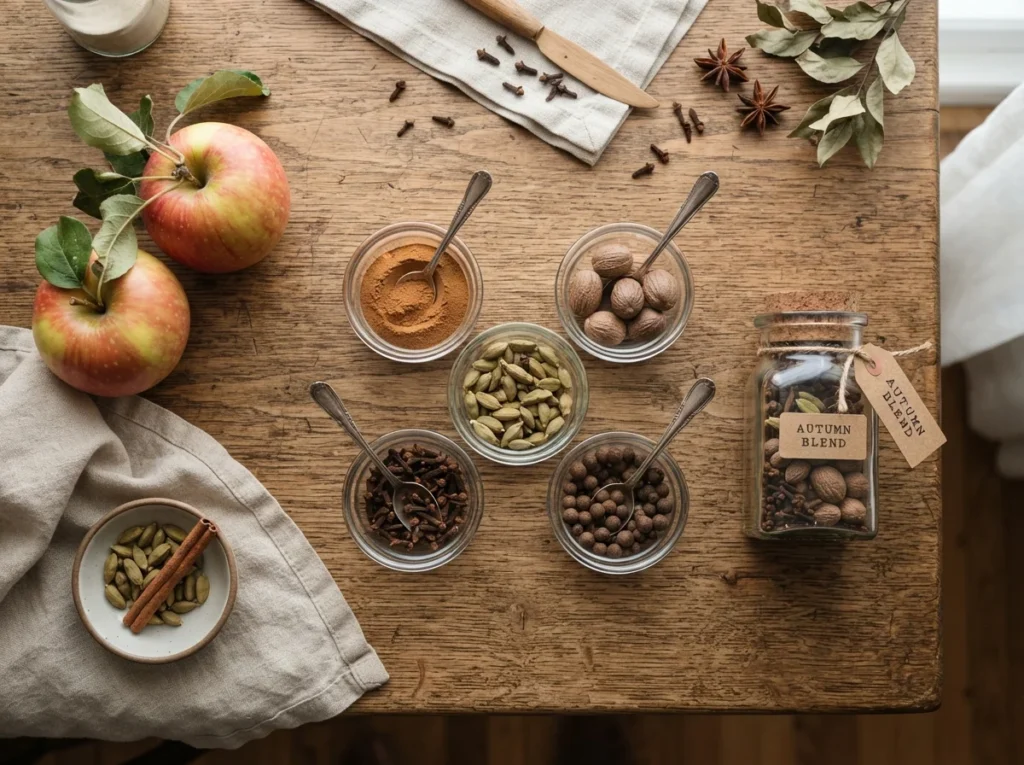
Cardamom is a secret spice that many home bakers completely overlook in their sweet recipes. Just a tiny pinch of ground cardamom will add a beautiful, complex floral aroma to your dish. This aromatic spice makes your kitchen smell exactly like a professional, high-end French bakery. Simply mix these ground spices in a small glass jar and keep them ready for use. This convenient blend will save you plenty of time when you prepare your sweet treats.
How to Avoid a Soggy Dessert Crust
Nothing is more disappointing than cutting into a pie only to find a wet bottom crust. I faced this frustrating issue many times during my early days as an amateur home baker. Fortunately, I learned a couple of easy techniques to keep my pastry perfectly crisp and dry. You should always sprinkle a thin layer of fine breadcrumbs directly onto your raw pie dough. This simple step protects your crust from absorbing too much wet fruit juice during baking.
- Blind Baking: Partially bake your empty pastry shell before adding the wet fruit filling.
- Egg Wash: Brush the bottom crust with beaten egg white to create a moisture barrier.
- Thickeners: Toss your sliced fruit with a tablespoon of cornstarch to bind excess juices.
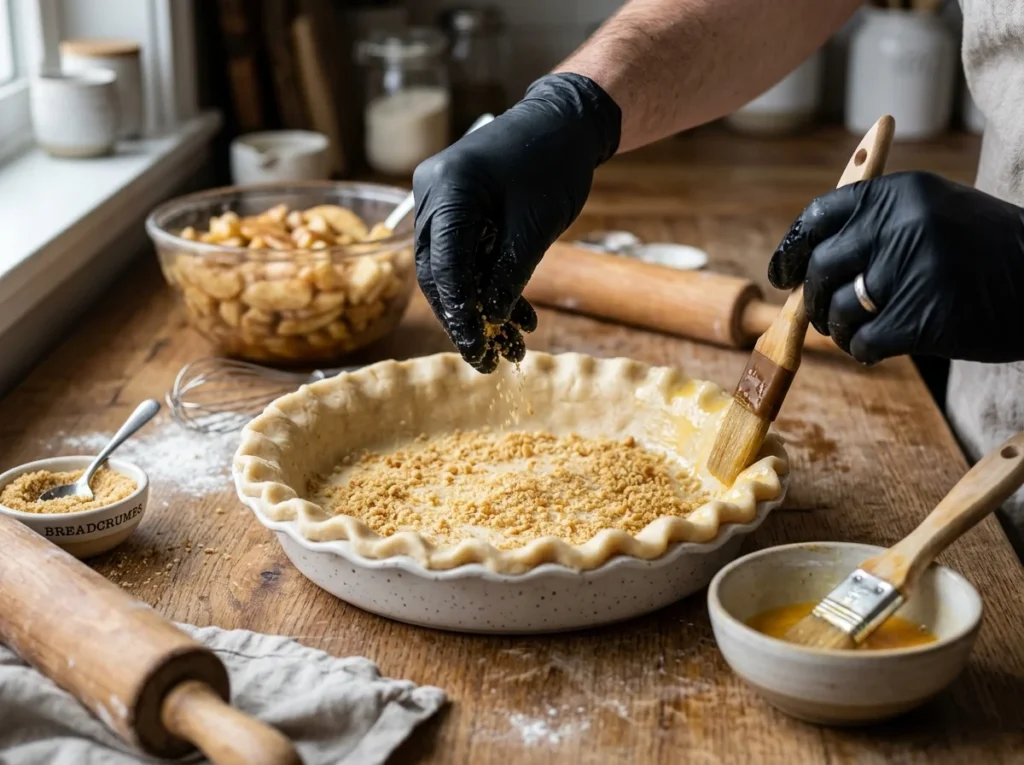
Using these simple protective steps ensures your apple desserts maintain a wonderfully crispy pastry bottom. Your family will definitely notice the professional quality of your perfectly baked crusts.
Guilt-Free Treats for Healthier Baking
You can still enjoy warm sweet treats even if you are watching your daily sugar intake. My friends often ask me how to make traditional apple desserts much lighter and healthier. The secret lies in swapping heavy white sugar for natural sweet alternatives like pure honey. This simple change allows you to satisfy your sweet tooth without feeling any guilt.
Replacing traditional white flour with nut-based alternatives can significantly boost the overall nutritional value. Almond flour provides a wonderfully dense texture while adding healthy fats to your sweet treats. This simple ingredient swap allows you to enjoy your favorite apple desserts completely guilt-free. You will still get that wonderful, comforting flavor without all the heavy refined carbohydrates.
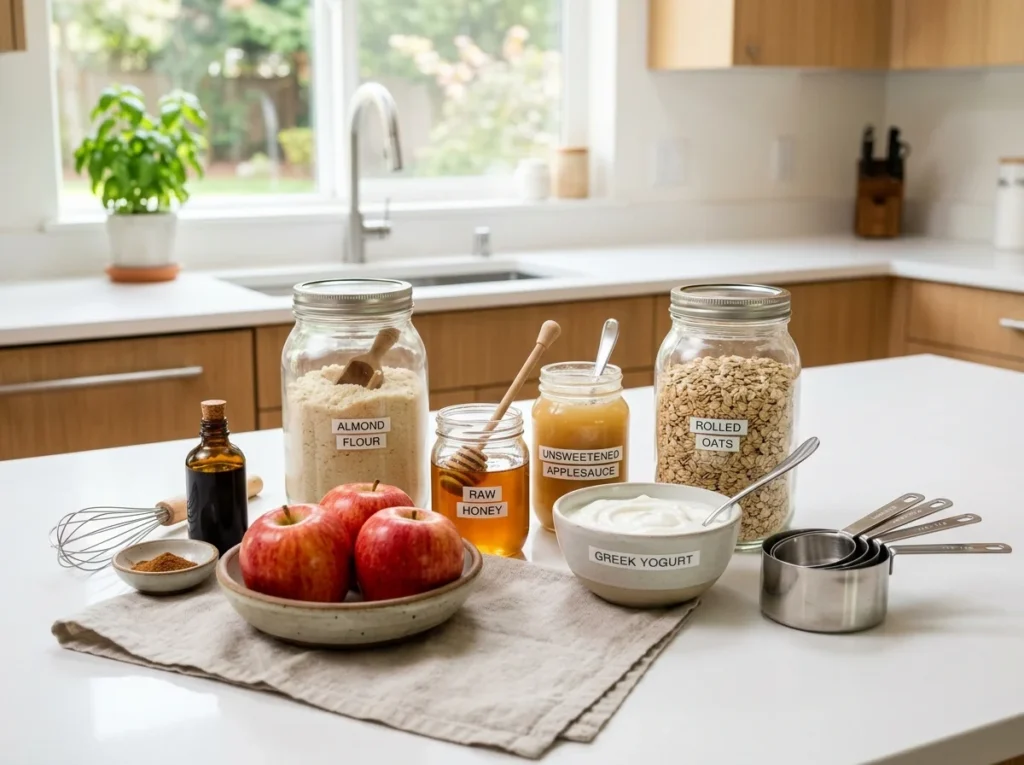
You can also use unsweetened organic applesauce to replace some of the butter in your cake batters. This clever swap keeps your baked goods incredibly moist while significantly cutting down on extra calories. Greek yogurt is another fantastic ingredient that adds protein while keeping muffin batters light and fluffy. These healthy ingredient adjustments will make your baking experience much more rewarding and nutritious.
Storing and Reheating Your Sweet Leftovers
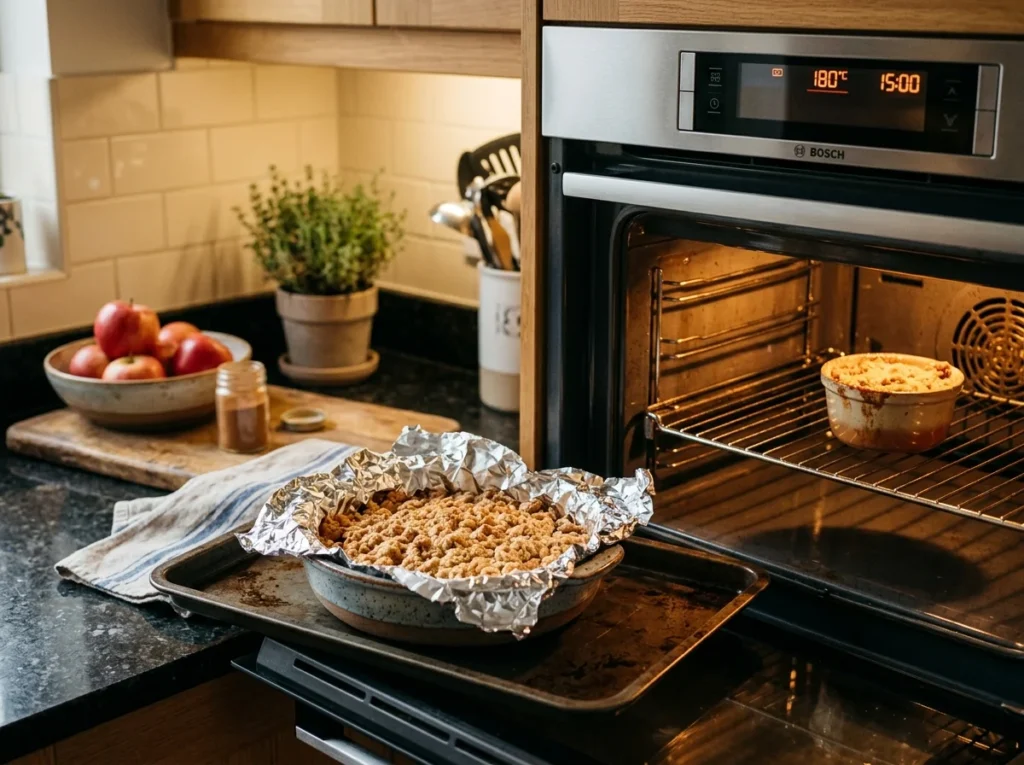
You will rarely have any leftovers because these sweet treats disappear incredibly fast from the table. However, storing your baked goods properly will keep them tasting fresh for several days. I always wrap my leftover dishes tightly in foil before placing them in the fridge. You should never use a microwave to reheat your favorite homemade apple desserts the next day. This gentle reheating method restores the original crunchy texture and makes the kitchen smell amazing again.
Avoid the Microwave
Using a microwave will make your beautiful crispy toppings incredibly soft, soggy, and sad to eat.
Use a Gentle Oven
Pop your cold leftovers back into a warm oven for about ten minutes to restore crispness.
Use Aluminum Foil
Cover the baking dish loosely with foil to prevent the top layer from burning in the oven.
Let the Dish Rest
Allow your reheated sweet treats to sit for two minutes before serving to let the juices settle.
Conclusion
Professional baking relies on selecting high-quality ingredients and using precise techniques in your home kitchen. Mastering these simple methods will help you serve consistently perfect apple desserts to your guests. My professional experience proves that attention to small details always yields the most outstanding bakery results. You can quickly build strong kitchen confidence by practicing these reliable structural steps during your weekend prep. These practical baking strategies will successfully bring a highly polished touch to your upcoming dessert menu.
You can subscribe to my free weekly newsletter right now for more expert baking guides and tips. I love sharing my best kitchen secrets directly with passionate home bakers who want to improve. Please leave a quick comment below about your favorite recipe from this baking guide today. Let us start a wonderful conversation and build a helpful baking community together in the comments.