A chocolate covered strawberries recipe is one of the easiest ways to make a dessert feel special without spending hours in the kitchen. Fresh, juicy strawberries and smooth melted chocolate create a simple combination that works for holidays, date nights, parties, and everyday cravings.
I love recipes that look impressive but do not require complicated baking skills. These strawberries need only a few ingredients, yet they can look like something from a bakery display. You can keep them classic with dark chocolate, use creamy milk chocolate, or add white chocolate drizzles for extra detail.
The secret is not complicated. Start with completely dry strawberries, melt the chocolate gently, and give each berry enough time to set. Those small steps can make a huge difference in the final result.
This easy chocolate covered strawberries recipe also gives you plenty of room for creativity. Add crushed nuts, cookie crumbs, sprinkles, coconut, or a second chocolate drizzle. Every batch can look different while following the same simple method.
Why You Will Love This Recipe
This dessert offers a great balance between fresh fruit and rich chocolate. The strawberries bring natural sweetness and a juicy texture, while the chocolate adds a smooth and satisfying finish.
You will also love how quickly these treats come together. There is no oven, mixer, or complicated decorating equipment required. A microwave-safe bowl, parchment paper, and a spoon can handle most of the work.
These strawberries also work for many different occasions. Serve them for Valentine’s Day, Mother’s Day, birthdays, bridal showers, anniversaries, or holiday gatherings. They can also turn an ordinary evening dessert into something more memorable.
Another advantage is portion control. Each strawberry becomes its own individual treat, making serving easier for guests and family members.
Ingredients You Need
You only need a few basic ingredients for this easy dessert.
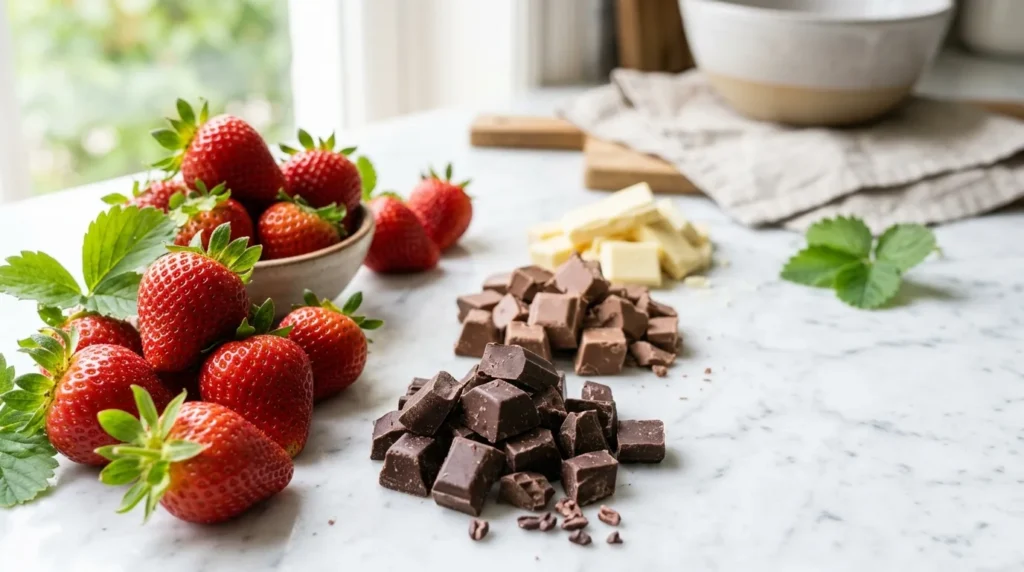
Fresh Strawberries
Choose strawberries that look bright, firm, and fresh. Larger berries often create a more dramatic presentation, but medium strawberries also work beautifully.
Keep the green tops attached because they make dipping easier. They also add a fresh, colorful contrast against the chocolate.
Chocolate
Use good quality chocolate because it provides most of the flavor. You can choose dark chocolate, milk chocolate, semi sweet chocolate, or white chocolate.
Chocolate bars usually melt smoothly and create a rich finish. Chocolate chips can also work, especially when you need a quick and convenient option.
Optional Coconut Oil
A small amount of coconut oil can help chocolate melt more smoothly. Use only a little because too much can create a thinner coating.
This ingredient is optional, so you can skip it when your melted chocolate already looks smooth.
Optional Toppings
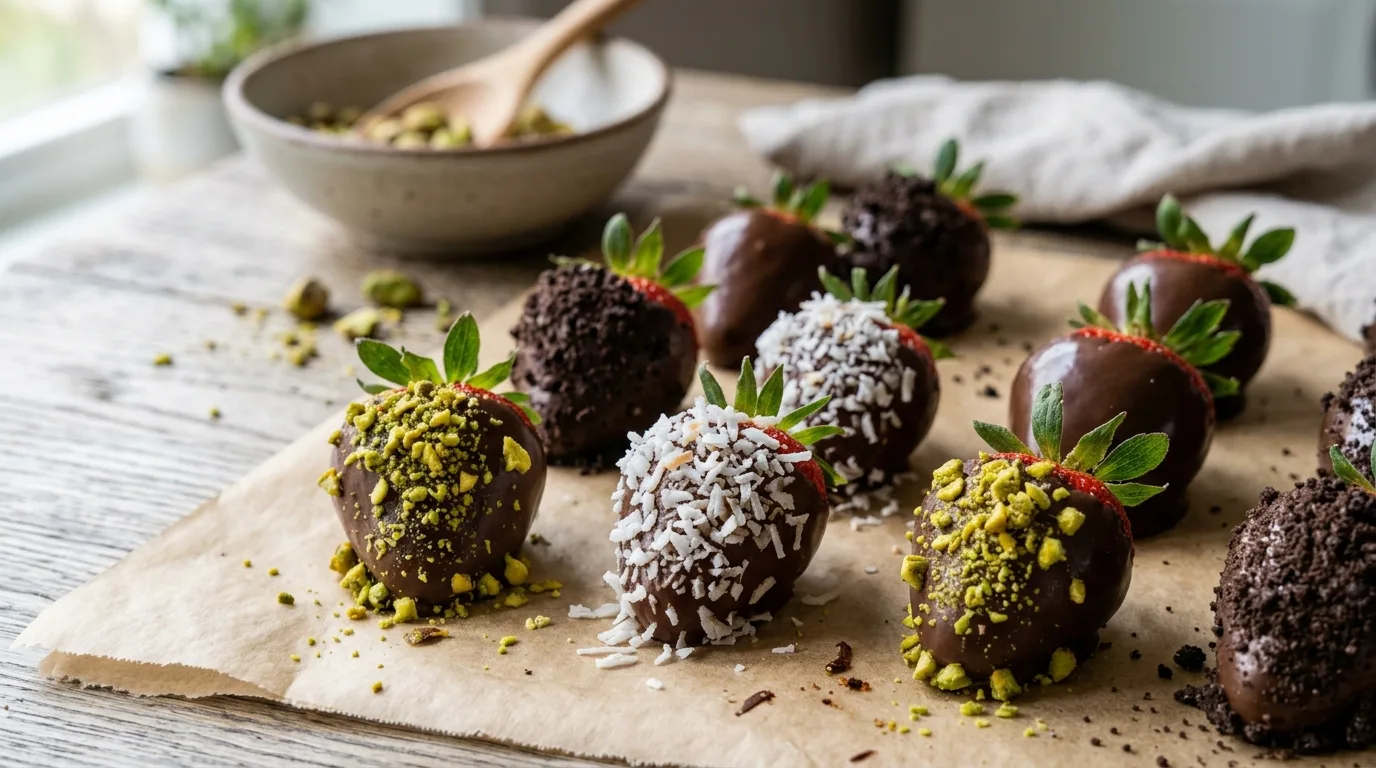
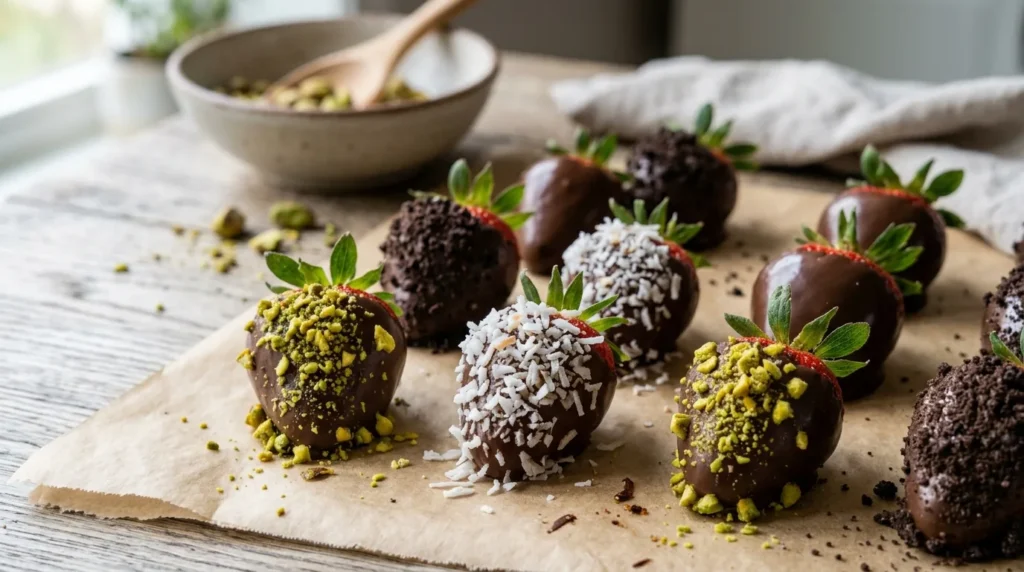
Toppings make this chocolate covered strawberries recipe more fun and customizable. Try crushed pistachios, chopped almonds, shredded coconut, cookie crumbs, colorful sprinkles, or crushed freeze dried fruit.
You can also use melted white chocolate or dark chocolate for decorative drizzles.
How to Wash and Dry Strawberries Properly
Washing strawberries is easy, but drying them properly matters even more. Water can cause melted chocolate to seize or become thick and difficult to use.
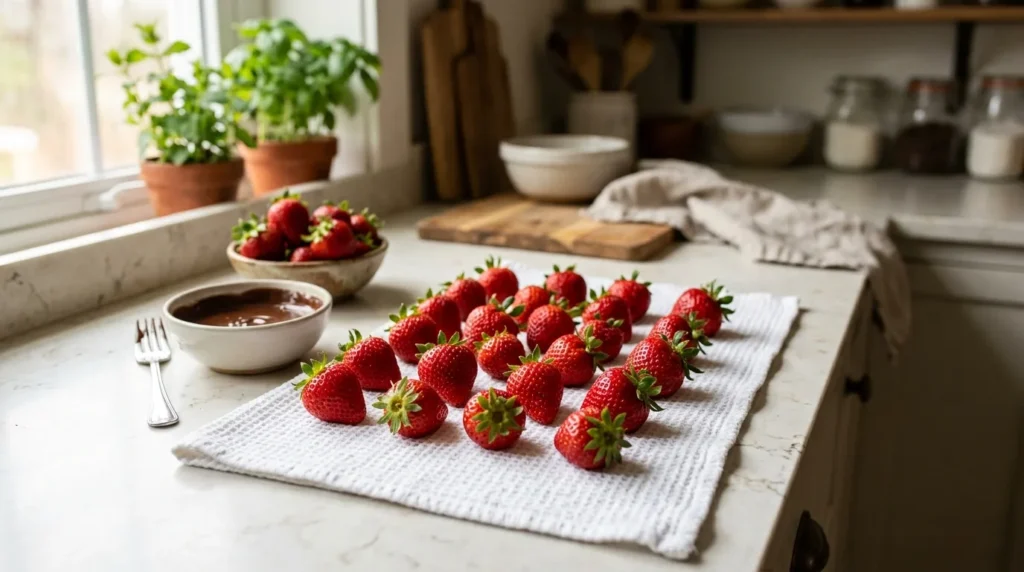
Rinse the strawberries gently under cool water. Place them on a clean kitchen towel or several layers of paper towels.
Pat every strawberry dry, including the area near the green leaves. Then allow them to air dry for several more minutes.
Do not dip strawberries while moisture remains on their surface. A completely dry berry gives you a smoother and more attractive chocolate coating.
This step may seem small, but it can prevent many common chocolate problems.
Step by Step Chocolate Covered Strawberries Recipe
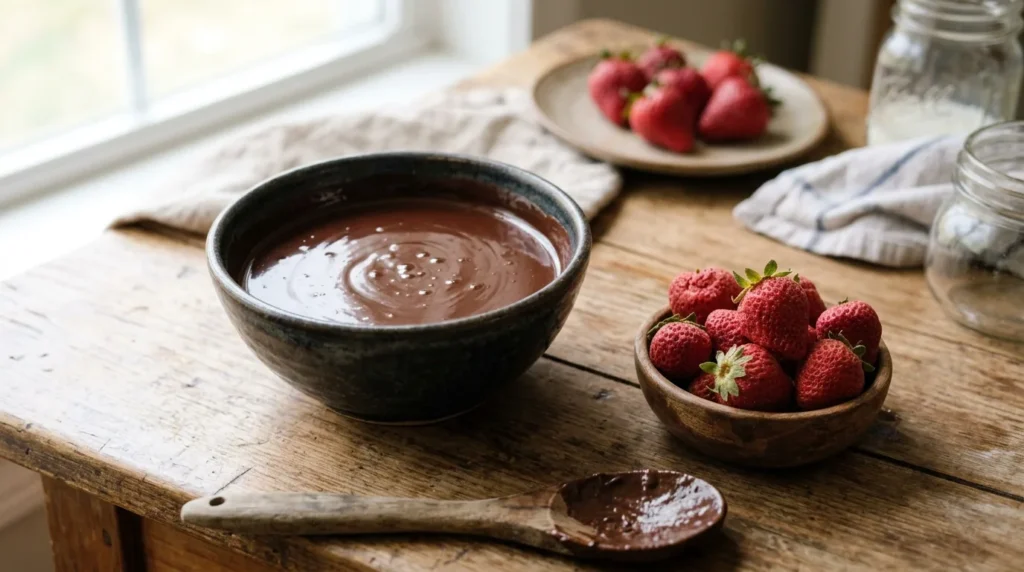
Step 1: Prepare Your Work Area
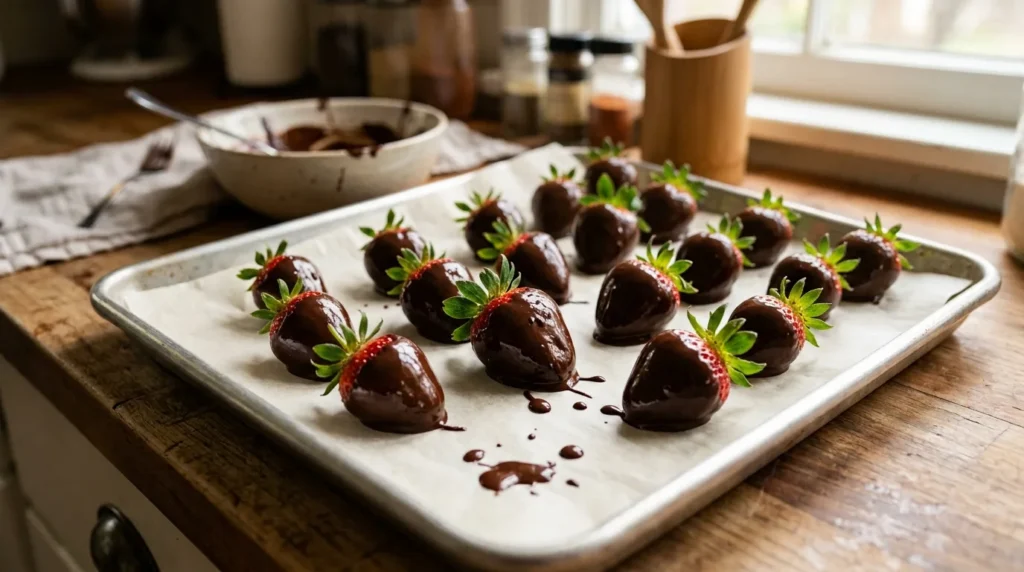
Line a large plate or baking sheet with parchment paper. This prevents the chocolate from sticking while the strawberries set.
Arrange your toppings in small bowls before melting the chocolate. Once the strawberries are dipped, you may need to work quickly.
Keep paper towels nearby because chocolate dipping can become a little messy. That is completely normal, especially when making a larger batch.
Step 2: Melt the Chocolate
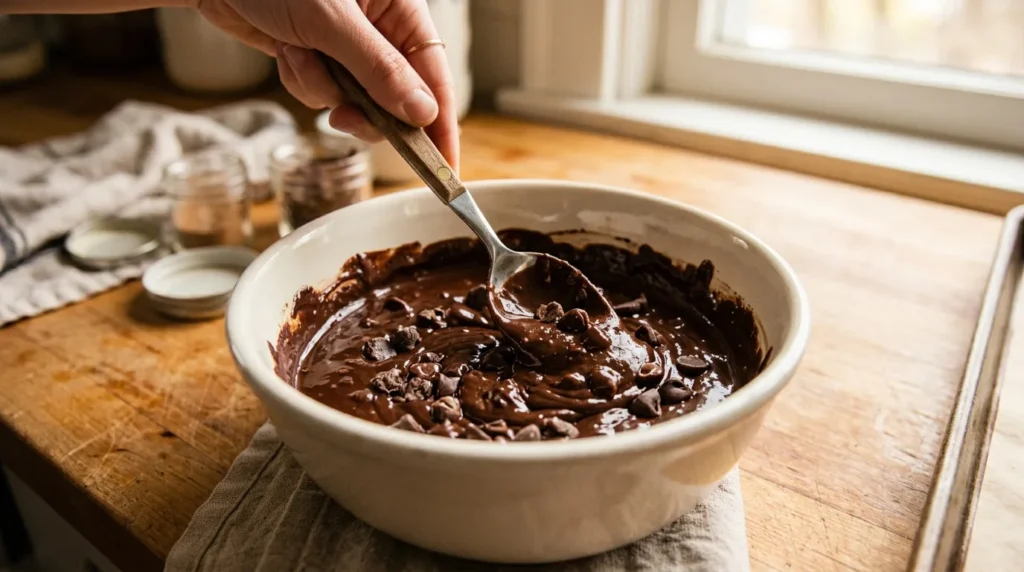
Place chopped chocolate or chocolate chips in a microwave-safe bowl. Heat for short intervals, usually about 20 seconds at a time.
Stir thoroughly after every heating interval. The chocolate may continue melting while you stir, so avoid overheating it.
When most of the chocolate has melted, keep stirring until the remaining pieces disappear. The residual heat often finishes the job without another microwave cycle.
If the chocolate seems too thick, add a very small amount of coconut oil. Stir again until the mixture becomes smooth and easy to dip.
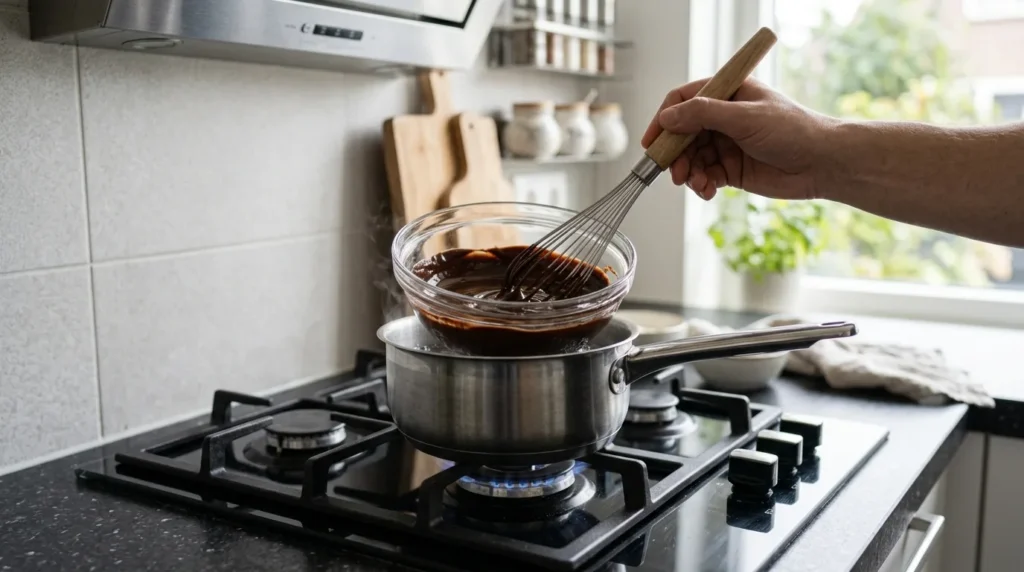
You can also melt chocolate using a double boiler if you prefer more controlled heat.
Step 3: Dip Each Strawberry
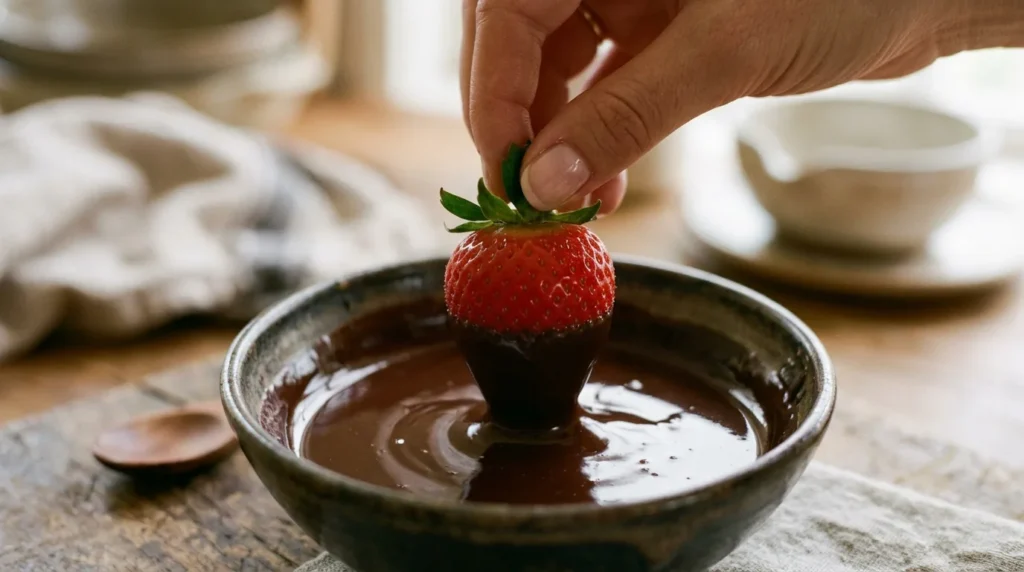
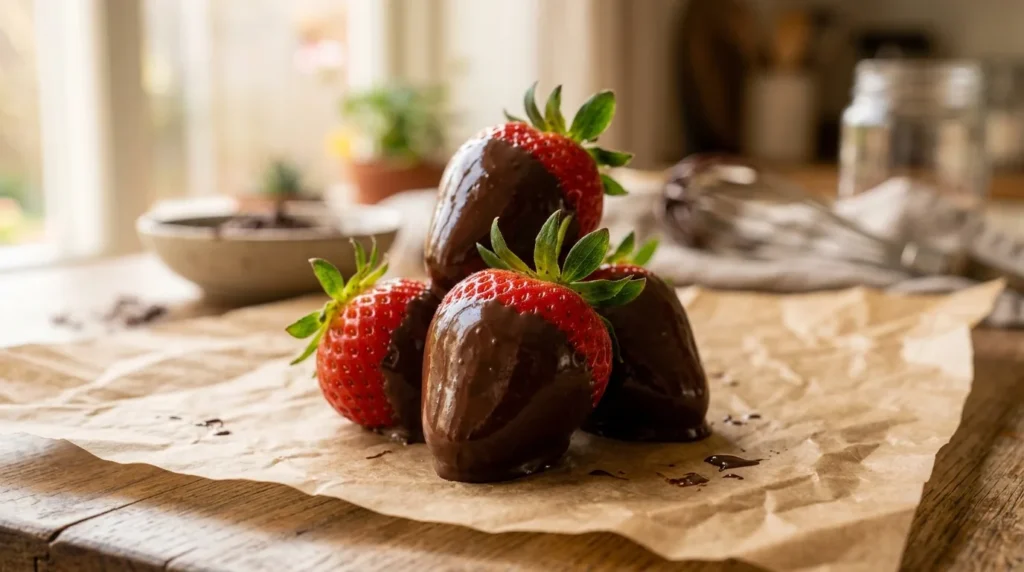
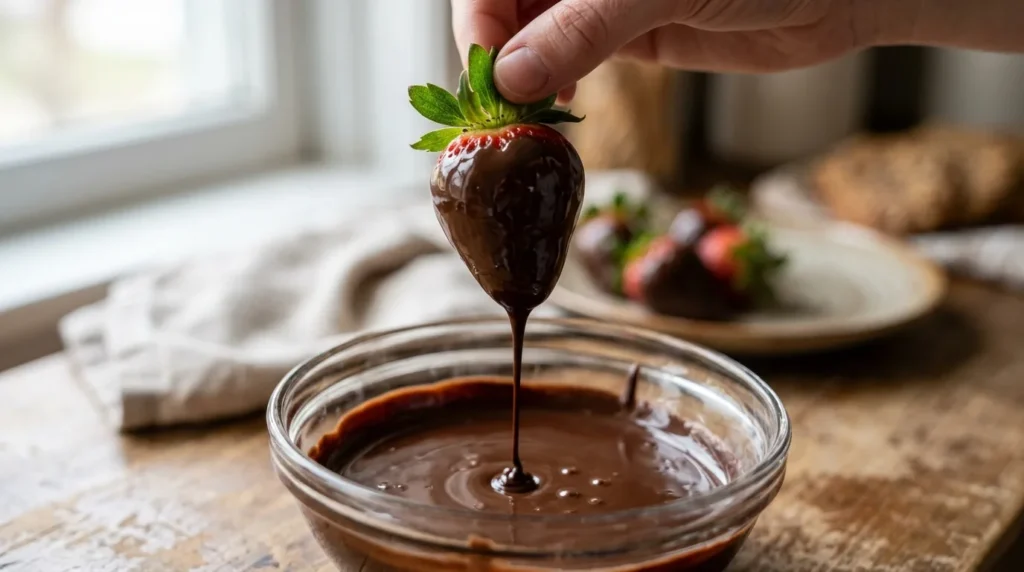
Hold a strawberry by its green leaves. Lower it into the melted chocolate and gently rotate it until most of the berry becomes coated.
Lift the strawberry slowly and allow excess chocolate to drip back into the bowl. A gentle twisting motion can help create a neat finish.
Leave a small section of red strawberry visible near the leaves. This creates a classic appearance and makes the finished dessert look fresh.
Place the dipped strawberry onto the parchment paper. Repeat with the remaining berries.
Step 4: Add Toppings Before the Chocolate Sets
Sprinkle toppings immediately after dipping each strawberry. The warm chocolate acts like an edible glue and helps the toppings stay in place.
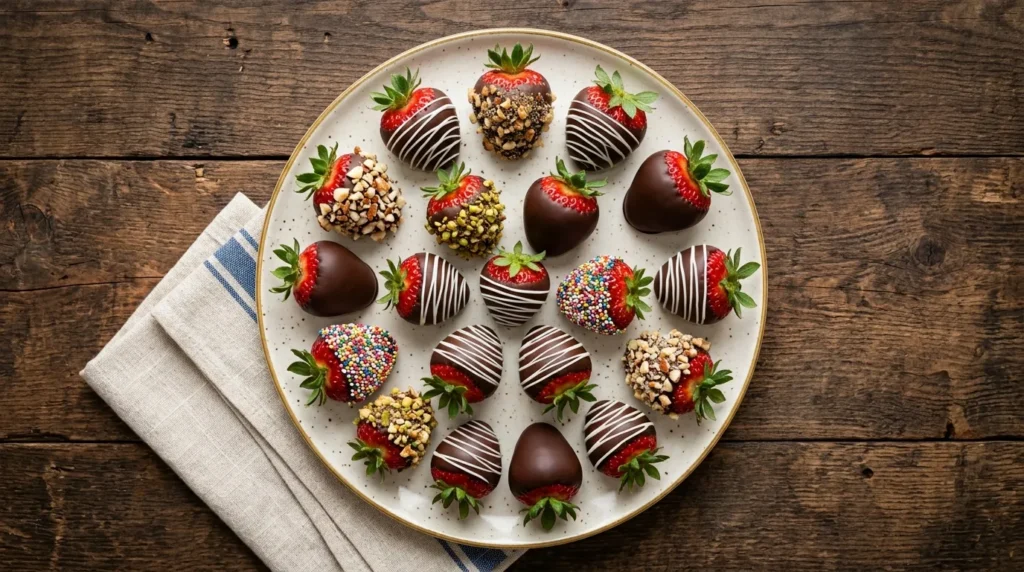
For example, add crushed nuts to one side or cover the bottom half with cookie crumbs. You can create different designs without changing the basic recipe.
If you want a simple presentation, leave some strawberries plain. A mixture of decorated and classic berries often looks more interesting on a serving plate.
Step 5: Let the Strawberries Set
Allow the chocolate to set at room temperature when your kitchen is cool. If the room feels warm, place the tray in the refrigerator for a short time.
Do not leave them uncovered in the refrigerator for too long before serving. Condensation can affect the appearance and texture of the chocolate.
Once the coating feels firm, the strawberries are ready to serve.
My Favorite White Chocolate Drizzle Method
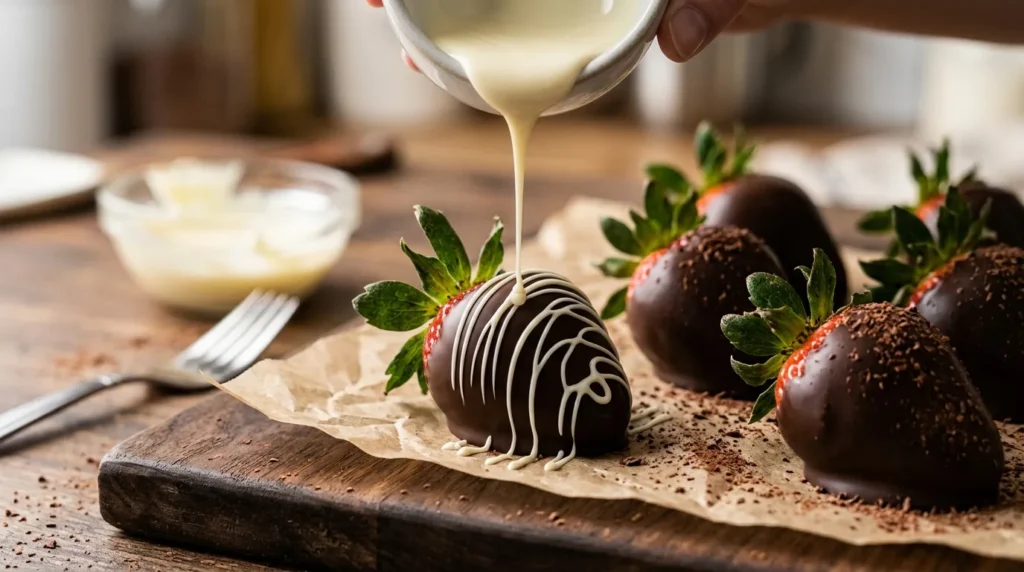
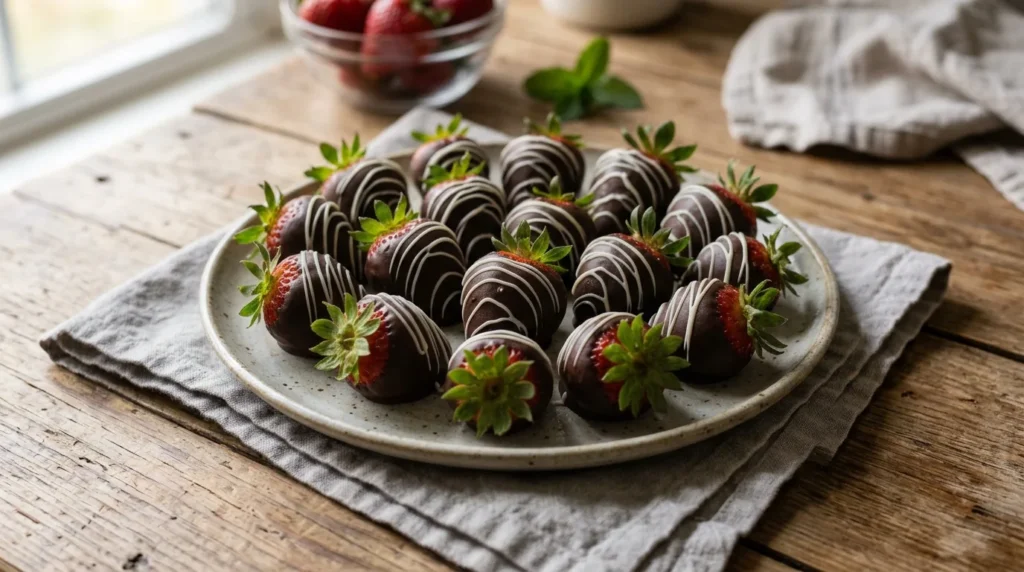
A simple drizzle can make homemade strawberries look more polished. Melt white chocolate separately using the same gentle heating method.
Transfer the melted chocolate to a small piping bag or a plastic bag with a tiny corner removed. Hold the bag above the strawberries and move your hand back and forth.
Do not worry about making every line perfect. Slightly uneven drizzles often give homemade desserts more character.
I have learned that overdecorating can make the berries look messy. My first attempt involved too much white chocolate, and several strawberries lost their clean appearance.
The lesson was simple: use fewer drizzles and let the strawberry shape remain visible.
Allow the drizzle to set completely before stacking or serving the berries.
Common Mistakes and How to Avoid Them
Using Wet Strawberries
This is one of the most common mistakes. Even small amounts of water can cause problems with melted chocolate.
Dry every strawberry carefully and give them enough time to air-dry. This extra preparation makes dipping much easier.
Overheating the Chocolate
Chocolate burns more easily than many people expect. Heating it for a long period without stirring can create a thick, grainy texture.
I once tried to save time by microwaving chocolate for too long. The mixture became thick, dull, and difficult to dip.
The lesson was clear: short heating intervals always work better. Stirring frequently gives you more control over the final texture.
Dipping Cold, Damp Strawberries
Very cold strawberries can develop condensation when they sit in a warm kitchen. That moisture may interfere with the chocolate.
Wash and dry the berries first, then let them reach a dry working temperature before dipping.
Adding Toppings Too Late
Toppings will not stick well after the chocolate hardens. Add them immediately after dipping each strawberry.
Prepare everything before you begin so you can work without rushing around the kitchen.
Making the Chocolate Layer Too Thick
A thick coating can hide the fresh flavor of the strawberries. Let excess chocolate drip away before placing each berry on parchment paper.
A thinner, even coating usually tastes better and looks cleaner.
Easy Flavor Variations
This chocolate covered strawberries recipe can easily change to match different celebrations.
Dark Chocolate Sea Salt
Dip strawberries in dark chocolate and add a tiny pinch of flaky sea salt. The sweet and salty combination tastes rich without requiring extra ingredients.
Use a light hand because too much salt can overpower the fruit.
Cookies and Cream
Dip the strawberries in white chocolate and immediately add crushed chocolate sandwich cookies. This variation works especially well for birthdays and casual celebrations.
Coconut Crunch
Coat strawberries with milk or dark chocolate, then sprinkle shredded coconut over one side. Toasted coconut can add even more flavor.
Nut Lover’s Strawberries
Use chopped pistachios, almonds, pecans, or hazelnuts. The crunchy texture pairs beautifully with soft fruit and smooth chocolate.
Be mindful of guests who may have nut allergies when serving these at parties.
Festive Sprinkle Strawberries
Use seasonal sprinkles for Valentine’s Day, Christmas, Easter, or birthday parties. This is one of the easiest ways to customize the recipe.
You can also match the sprinkle colors to a bridal shower or baby shower theme.
How to Make Chocolate Covered Strawberries Look Professional
Presentation can make a simple dessert feel more special. Start by choosing strawberries with similar sizes and shapes.
Use a clean parchment lined tray while dipping. Try to keep the chocolate edge at a similar height on every strawberry.
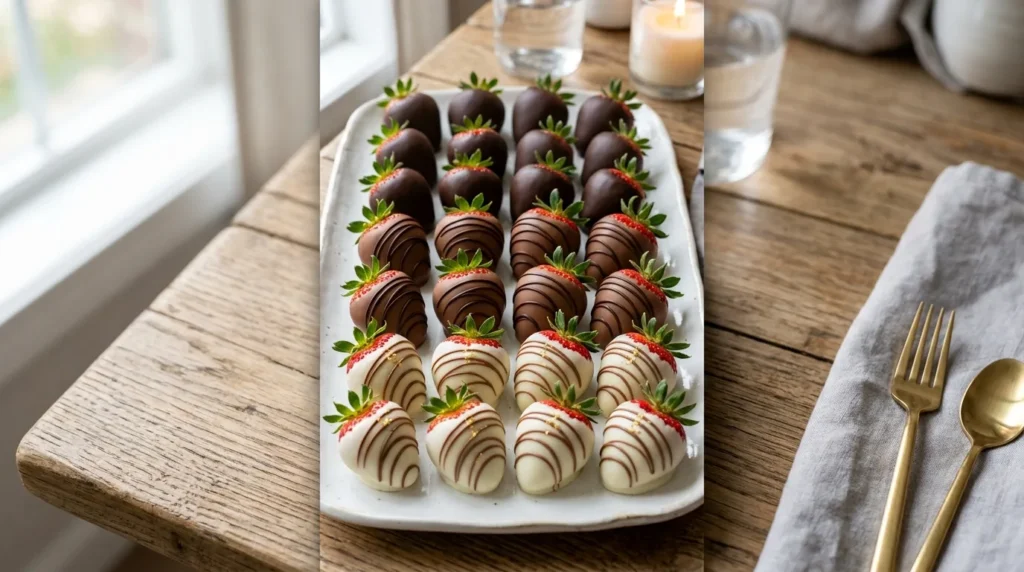
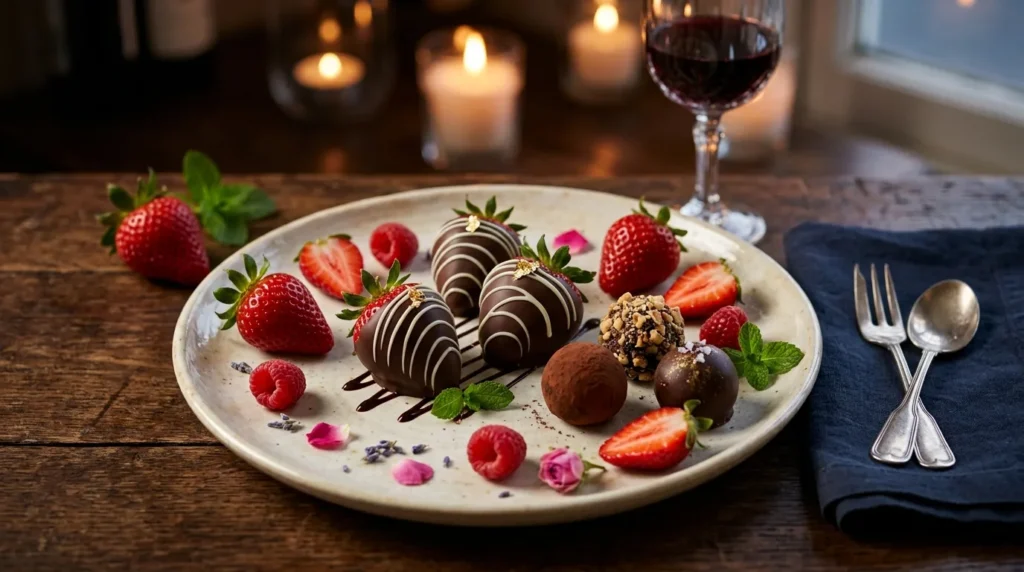
For a polished serving platter, combine several finishes. Use plain chocolate covered berries, white chocolate drizzled berries, and berries with toppings.
Arrange them with the leaves facing outward whenever possible. The green tops add color and make the plate look fresher.
Avoid overcrowding the platter. Give each strawberry a little space so the decorations remain visible.
A small box or bakery style container can also turn these into a thoughtful homemade gift.
Can You Make Them Ahead?
You can make chocolate covered strawberries ahead, but they taste best when served fresh. Strawberries naturally release moisture over time, which can affect the chocolate coating.
For the best flavor and appearance, make them on the same day you plan to serve them. If necessary, prepare them several hours ahead and store them carefully.
Place them in a single layer to avoid damaging the decorations. Keep them in a cool environment and protect them from excess moisture.
Avoid sealing them in a completely airtight container while they are still very cold. Condensation may develop when the temperature changes.
Fresh strawberries are delicate, so this dessert rewards you when you prepare it close to serving time.
What to Serve With Chocolate Covered Strawberries
These strawberries taste great on their own, but they can also become part of a larger dessert spread.
Serve them with brownies, mini cheesecakes, cookies, or fresh fruit. A dessert board with several small treats can work well for parties.
For a romantic celebration, pair the strawberries with chocolate truffles and simple homemade desserts. Keep the presentation elegant rather than adding too many competing flavors.
You can also place one or two strawberries beside a slice of cake. The fresh fruit adds color and makes individual dessert plates look more inviting.
Storage Tips for the Best Results
Store finished strawberries in a single layer whenever possible. Stacking them can crack the chocolate or damage delicate toppings.
Keep them in a cool place until serving. If refrigeration becomes necessary, use a container that protects the berries without crushing them.
Let refrigerated strawberries sit briefly before serving, especially if condensation appears. Serve them as soon as possible for the best texture.
Do not freeze chocolate covered strawberries for this recipe. Freezing can change the texture of the fruit and create extra moisture when the berries thaw.
Fresh is always best here.
Why This Chocolate Covered Strawberries Recipe Works
The beauty of this recipe comes from its simplicity. You do not need special baking equipment or advanced decorating skills.
The combination of fresh strawberries and rich chocolate already delivers plenty of flavor. Careful preparation simply helps those ingredients look and taste their best.
Dry strawberries, gently melted chocolate, and quick topping application create reliable results. These three steps solve most problems before they happen.
You can also adjust the recipe to suit your taste. Choose your favorite chocolate, experiment with toppings, or create a simple drizzle.
That flexibility makes this dessert useful throughout the year.
Final Thoughts
This chocolate covered strawberries recipe proves that a beautiful dessert does not need to be difficult. With fresh berries, good chocolate, and a few simple techniques, you can create a treat that looks impressive and tastes delicious.
Remember to dry the strawberries completely and melt the chocolate slowly. Prepare your toppings before dipping, then give the finished berries enough time to set.
Once you understand the basic method, you can experiment with different chocolates and decorations. Keep some classic, make others colorful, and create a platter that fits your celebration.
Ready to Make Them?
Try this easy chocolate covered strawberries recipe for your next celebration or sweet craving. Make your favorite variation, share it with someone special, and enjoy every fresh, chocolatey bite.