For years, I completely avoided making sweet breakfasts at home because my slices always turned out incredibly soggy. No matter how carefully I watched the pan, the center remained mushy while the outside burned quickly.
Everything changed when I stopped using thin white bread and discovered this specific french toast recipe last winter. By adjusting my liquid ratio and frying technique, I finally achieved that elusive café quality crunch at home.
This short guide will completely change the way you prepare your weekend breakfast. Here are the simple steps to get those perfectly golden, crispy edges every single time.
Why Thin Bread Instantly Ruins Your Breakfast Texture
Selecting the right foundation from your kitchen pantry is the most critical step in this entire morning process. Standard sliced sandwich bread is far too thin and structurally weak to handle a heavy liquid mixture safely.
If you use flimsy slices, your breakfast will absorb too much moisture instantly and collapse into a soggy mess. For the ultimate crispy edges, you must invest in thick-cut, dense options like brioche or stale challah loaf.
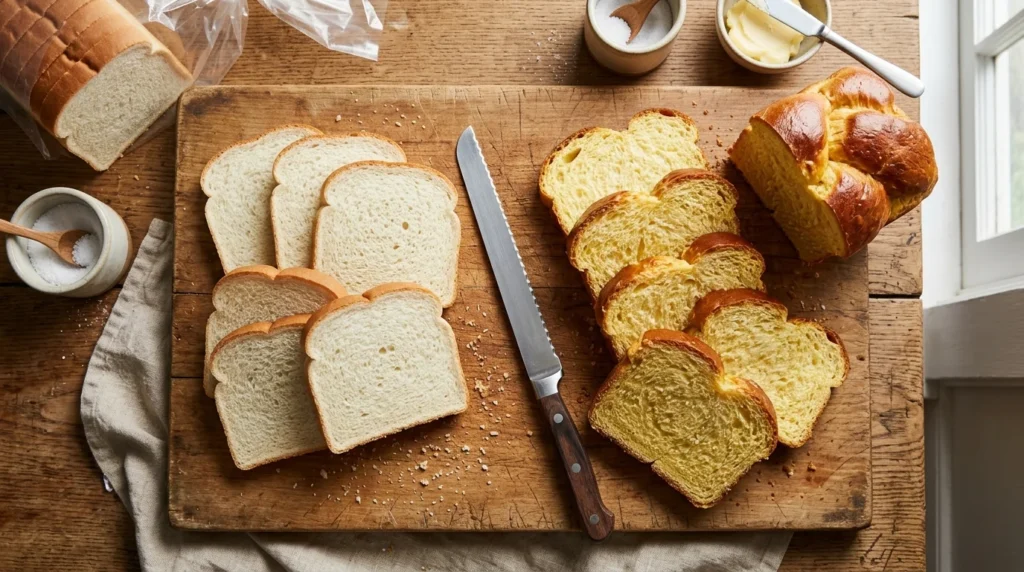
The Density Factor
Dense crumbs resist heavy liquid absorption and keep the center of your slice beautifully fluffy instead of turning mushy.
The Ideal Thickness
Cutting your bread slices into one-inch thick pieces provides the perfect structural balance for frying on a hot pan.
The Stale Advantage
Using day-old, slightly dry bread allows the loaf to hold its shape during the quick dipping process beautifully.
Why the Correct Liquid Ratio Creates a Perfect Custard
Achieving a gorgeous restaurant-style texture lies entirely within the balance of your wet ingredients and liquid mixture. Many home cooks accidentally pour too much milk into their bowls, which completely prevents the sugars from caramelizing.
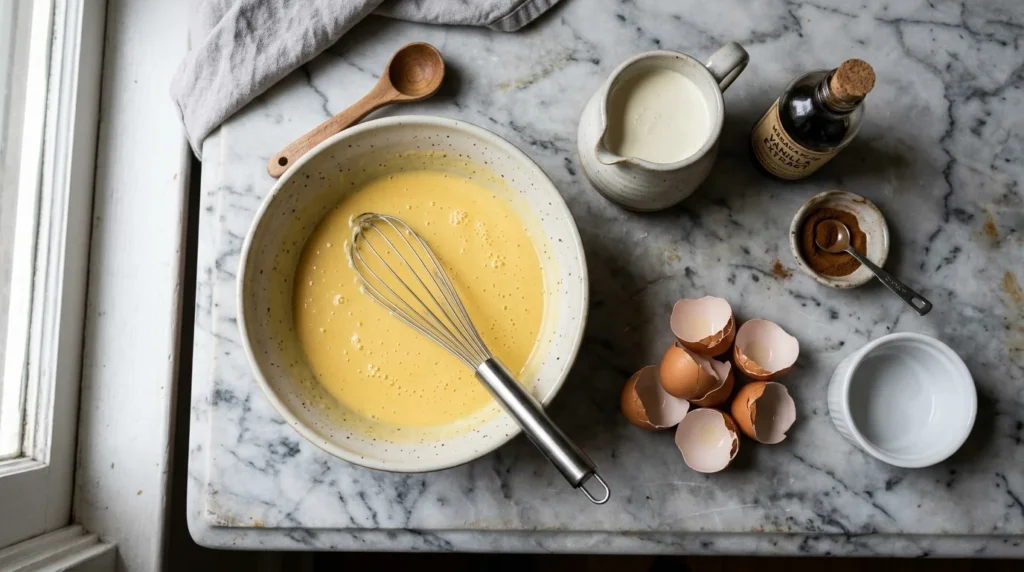
I discovered that using exactly one tablespoon of heavy cream per whole egg creates the ultimate rich coating. Whisking this base thoroughly ensures that your homemade french toast recipe achieves a perfect diner-quality finish every single time.
| Ingredient Choice | Role in the Recipe | Final Texture Output |
| Heavy Cream | Adds essential premium fats | Creates a rich, custard-like texture |
| Whole Eggs | Acts as a structural binder | Holds the bread coating together firmly |
| Vanilla & Cinnamon | Elevates the internal aroma | Delivers a warm, classic diner flavor |
Why Preheating Your Cast-Iron Skillet Is Non-Negotiable
You must never place your damp, dipped bread slices onto a cold or unevenly heated frying surface. If the skillet is too cold, the egg mixture will bleed out and create flat, unattractive edges. Instead, you need to preheat your heavy cast-iron skillet to make this classic french toast recipe properly. Dropping a small cube of unsalted butter should cause immediate, beautiful bubbling without burning the dairy solids. Mastering this simple temperature transition ensures your favorite french toast recipe achieves a perfect restaurant-quality crunch effortlessly.
Cast-iron pans distribute intense heat evenly, which helps create a uniform crunch across the entire bread surface. Combining a splash of vegetable oil with unsalted butter prevents your frying pan from smoking too quickly. The bread should hiss sharply the exact moment it touches the pan during this french toast recipe process. Managing this temperature transition perfectly is what elevates a basic homemade breakfast into a premium professional dish. You will instantly notice how this quick technique transforms your classic french toast recipe into a masterpiece.
Why Shifting the Bread Too Quickly Destroys the Crust
Once your bread hits the hot skillet, you must resist the strong temptation to move it around continuously. Constantly shifting the slice destroys the delicate outer skin before the sugars have a chance to caramelize properly. Let the bread sit completely undisturbed over medium heat for exactly three to four minutes per side. This disciplined cooking method guarantees that your classic french toast recipe develops a deeply golden, professional crust.
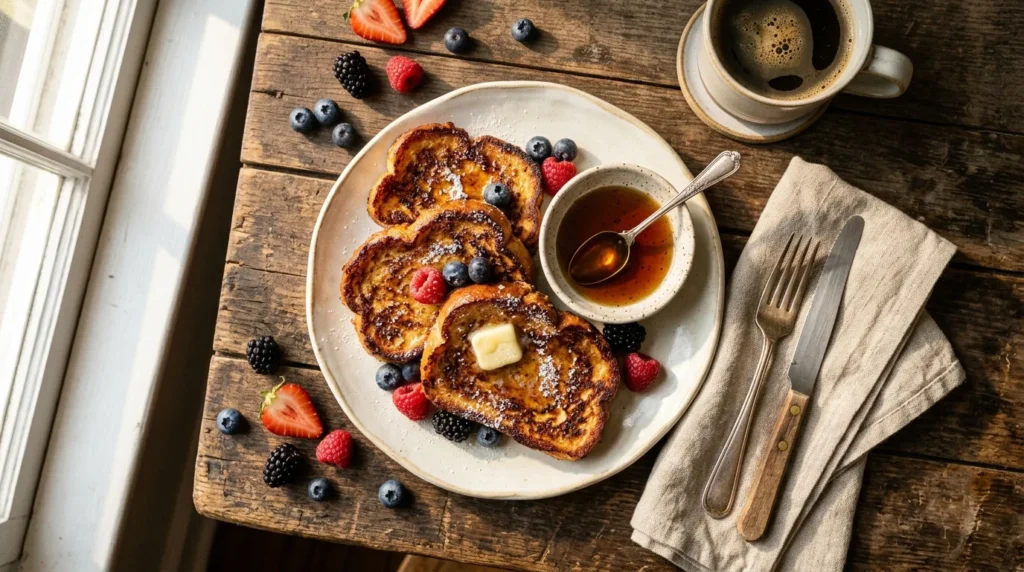
How Searing the Outer Crust Edges Enhances Every Bite
Most amateur cooks only worry about browning the flat top and bottom surfaces of their breakfast slices. However, leaving the outer crust soft and spongy ruins the overall structural contrast of your gourmet dish.
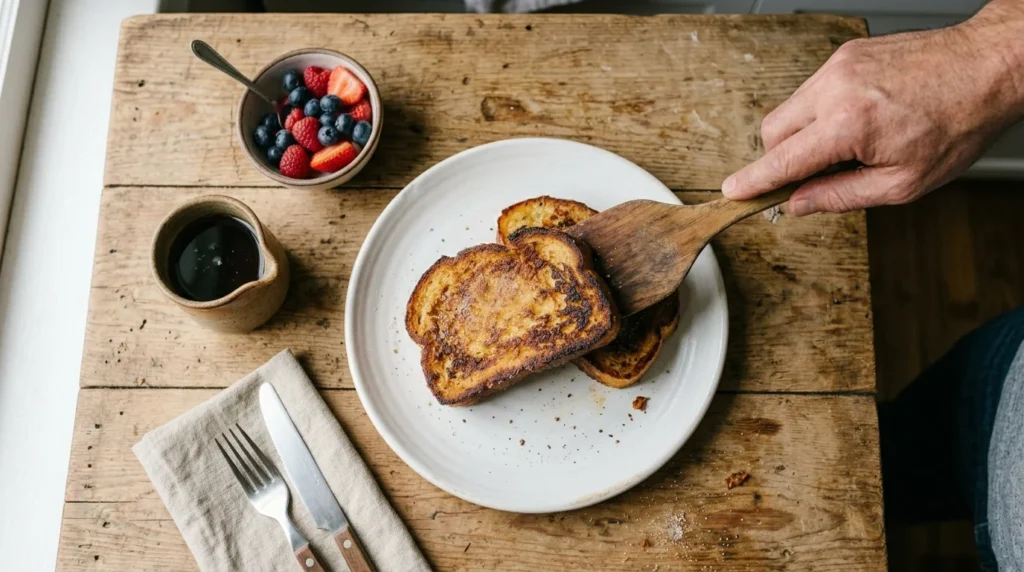
To fix this, carefully lift the bread using kitchen tongs and stand it upright against the pan walls. Searing the sides of the bread locks in the remaining moisture and prevents inner sogginess from ruining your plate.

Tilt the skillet slightly so the hot, bubbling butter pools directly around the outer crust edges for an even seal. This extra technical step creates a beautiful contrast between the crispy borders and the soft, pillowy interior core.
This advanced technique ensures every single side of your morning treat delivers a satisfying, loud crunch. Perfecting these small manual movements gives your meal a spectacular look that completely matches high-end restaurant food photography.
Why Stacking Hot Slices Creates Immediate Sogginess
One of the biggest mistakes people make is stacking hot, cooked slices directly on top of each other. The residual heat escaping from the fresh toast creates instant steam, which quickly turns your crispy edges soft. To preserve your hard work, transfer the finished slices immediately onto a clean metal wire baking rack. Metal wire racks allow air to flow underneath the bread, preventing moisture from pooling below the crust.
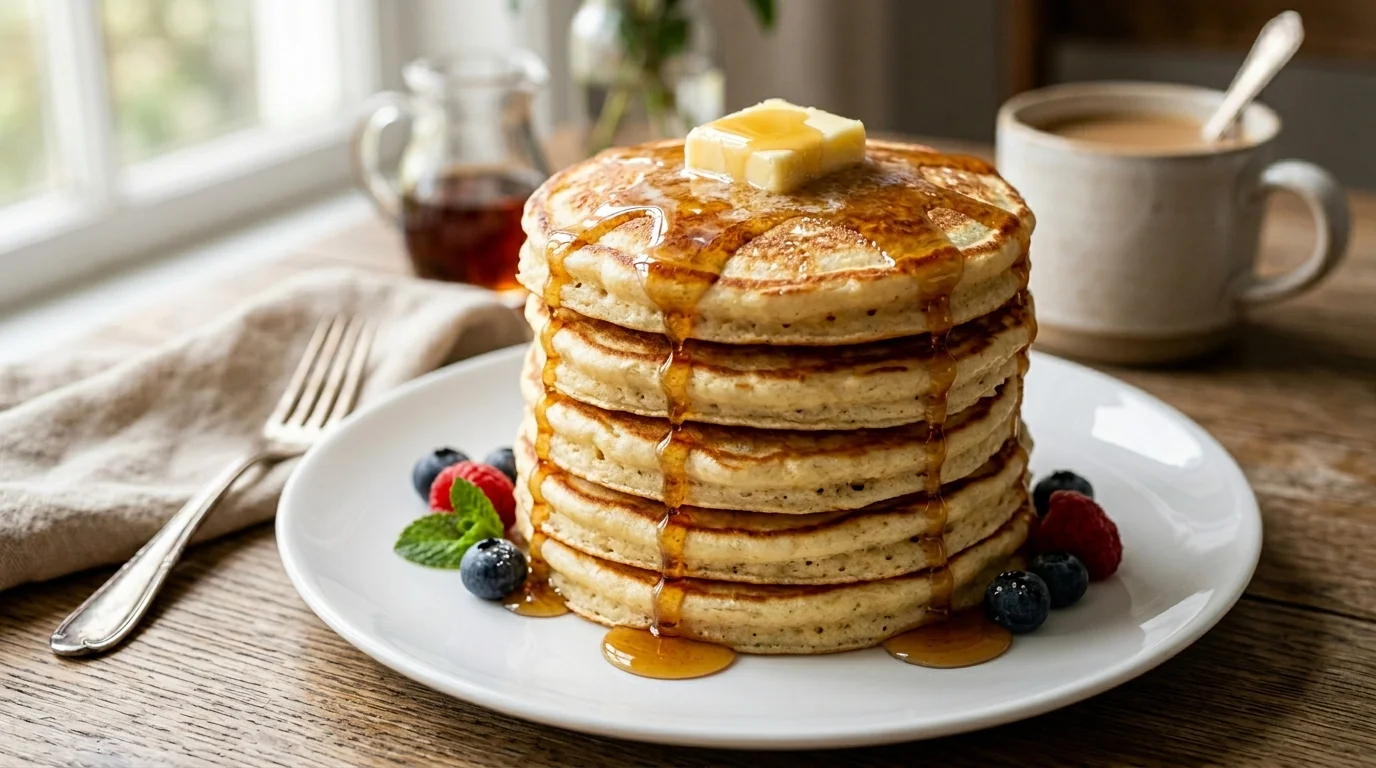
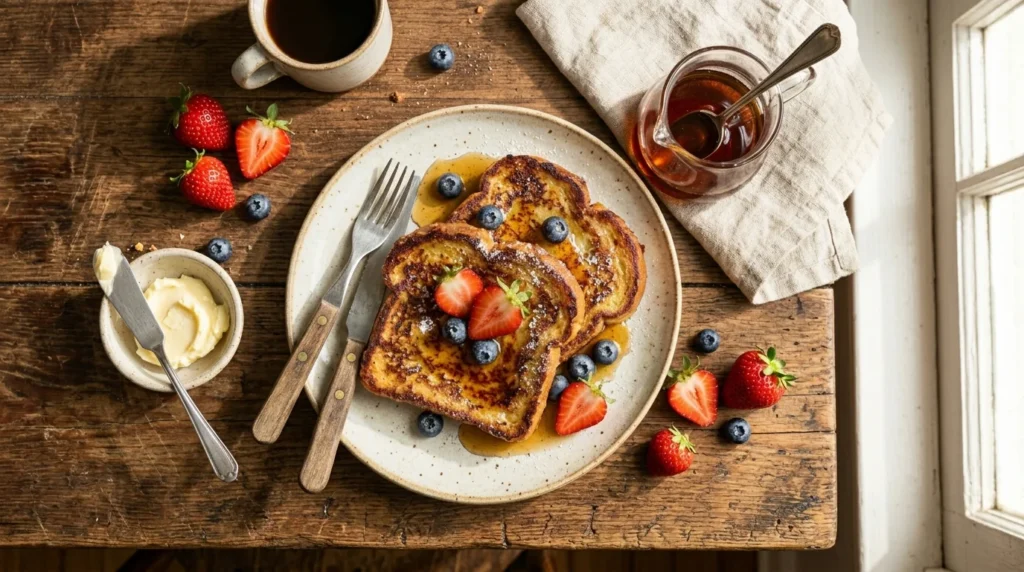
How Strategic Topping Methods Protect the Crisp Borders
Dumping heavy, cold maple syrup directly over your fresh plate will instantly destroy your beautifully crafted crust. The delicate sugars on the exterior dissolve within seconds when smothered under a large puddle of liquid toppings.
Instead, you should adopt a highly strategic, restaurant-style approach when assembling your final morning meal presentation. This prevents the warm bread from absorbing excess syrup and turning into a mushy, sweet soup on the plate.
- The Sugar Barrier Myth: Pouring syrup first helps the sugar soak into the bread edges deeply.
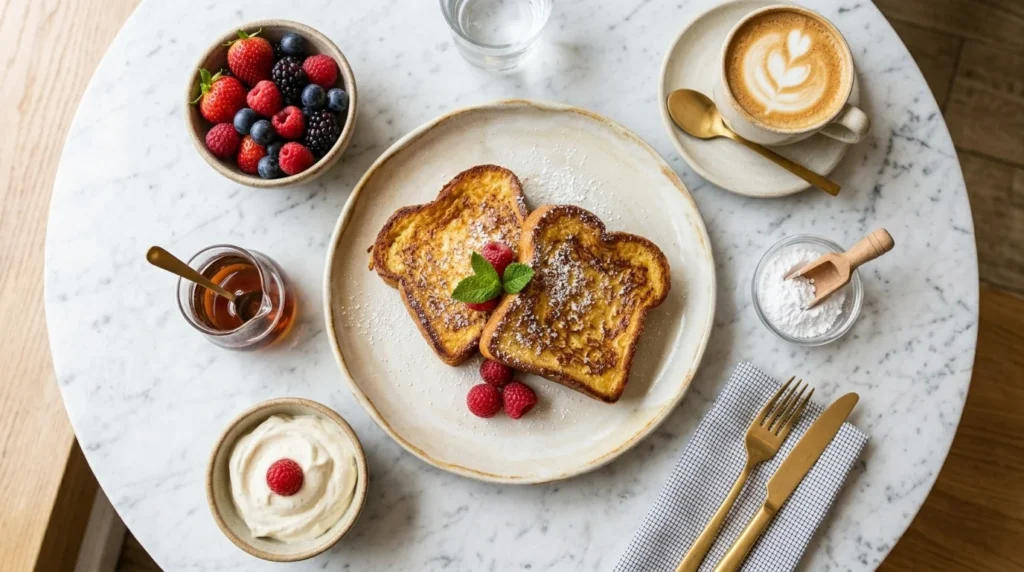
- The Crunchy Reality: Dust a light layer of powdered sugar first to create a beautiful, protective sweet coating.
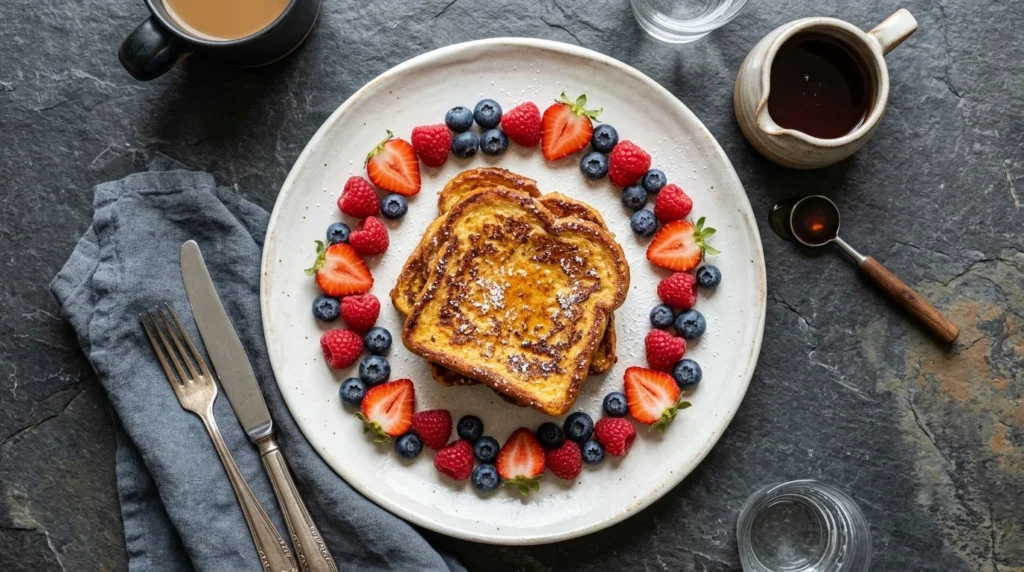
- The Fruit Layout Myth: Stacking heavy wet fruits directly on top keeps the bread fresh and moist.
- The Crispy Reality: Scatter tart fresh raspberries or sliced strawberries around the base of the plate for natural balance.
How to Troubleshoot Common Temperature Disasters Instantly
If your very first batch does not turn out perfectly, identifying the kitchen issue takes just a few seconds. When the crust burns before the inside cooks through, your stovetop flame is simply set way too high. Lower the burner flame immediately if you notice the frying butter smoking or turning a dark black color. Leave your bread slices out on the counter overnight if they still feel too soft before dipping them.
Finding your perfect kitchen rhythm takes a little bit of patience but rewards you with an extraordinary breakfast. A tiny pinch of sea salt in the custard mix brings out the rich vanilla notes beautifully.
Mastering this timeless french toast recipe completely redefines your weekend mornings and brings immense joy to the family table. With just a little bit of practice, you will completely master the art of making flawless treats.
Conclusion
Ditching soggy, mushy slices for a perfectly caramelized crust completely redefines your entire weekend kitchen experience. Investing just ten minutes into mastering the correct dairy fat ratios rewards you with an incredibly luxurious morning treat. You do not need professional restaurant equipment to achieve these beautiful, diner-quality results right on your home stove.
Tonight, skip the basic white bread loaf and prepare your kitchen counter for this ultimate french toast recipe experiment. You will absolutely love watching your family smile when they experience that spectacular, loud crunch tomorrow morning.
What is your absolute favorite gourmet topping combination when you serve a fresh french toast recipe at home? Please share your personal breakfast variations and kitchen tips in the comments section below so we can chat!